Navigation
Use Nacelle's navigation data to organize and power your storefront.
Overview
When setting up your storefront website, planning and designing a navigation system is an important step that allows you to organize your content in a way that makes sense for your customers.
Nacelle’s navigation data is scoped to a single space so you can create different groups of menus with a hierarchy of links. You can add custom properties to menu groups and menu items in the form of key-value metadata. Additionally, you can define featured media for each menu item in a group.
Default menu group and menu list items
Every space starts with a default navigation group "Main Menu" with two menu items /home and /shop. Feel free to edit and add to this default group or remove it to start fresh.

Adding a new menu group
Click the "New Menu Group" tab and a new page will appear to set the Group Title and the Group ID.
- Group Title: This can be any string but must be unique from other groups.
- Group ID: This is for use with the Storefront API. It must be in kebab-case format and also unique from other groups.
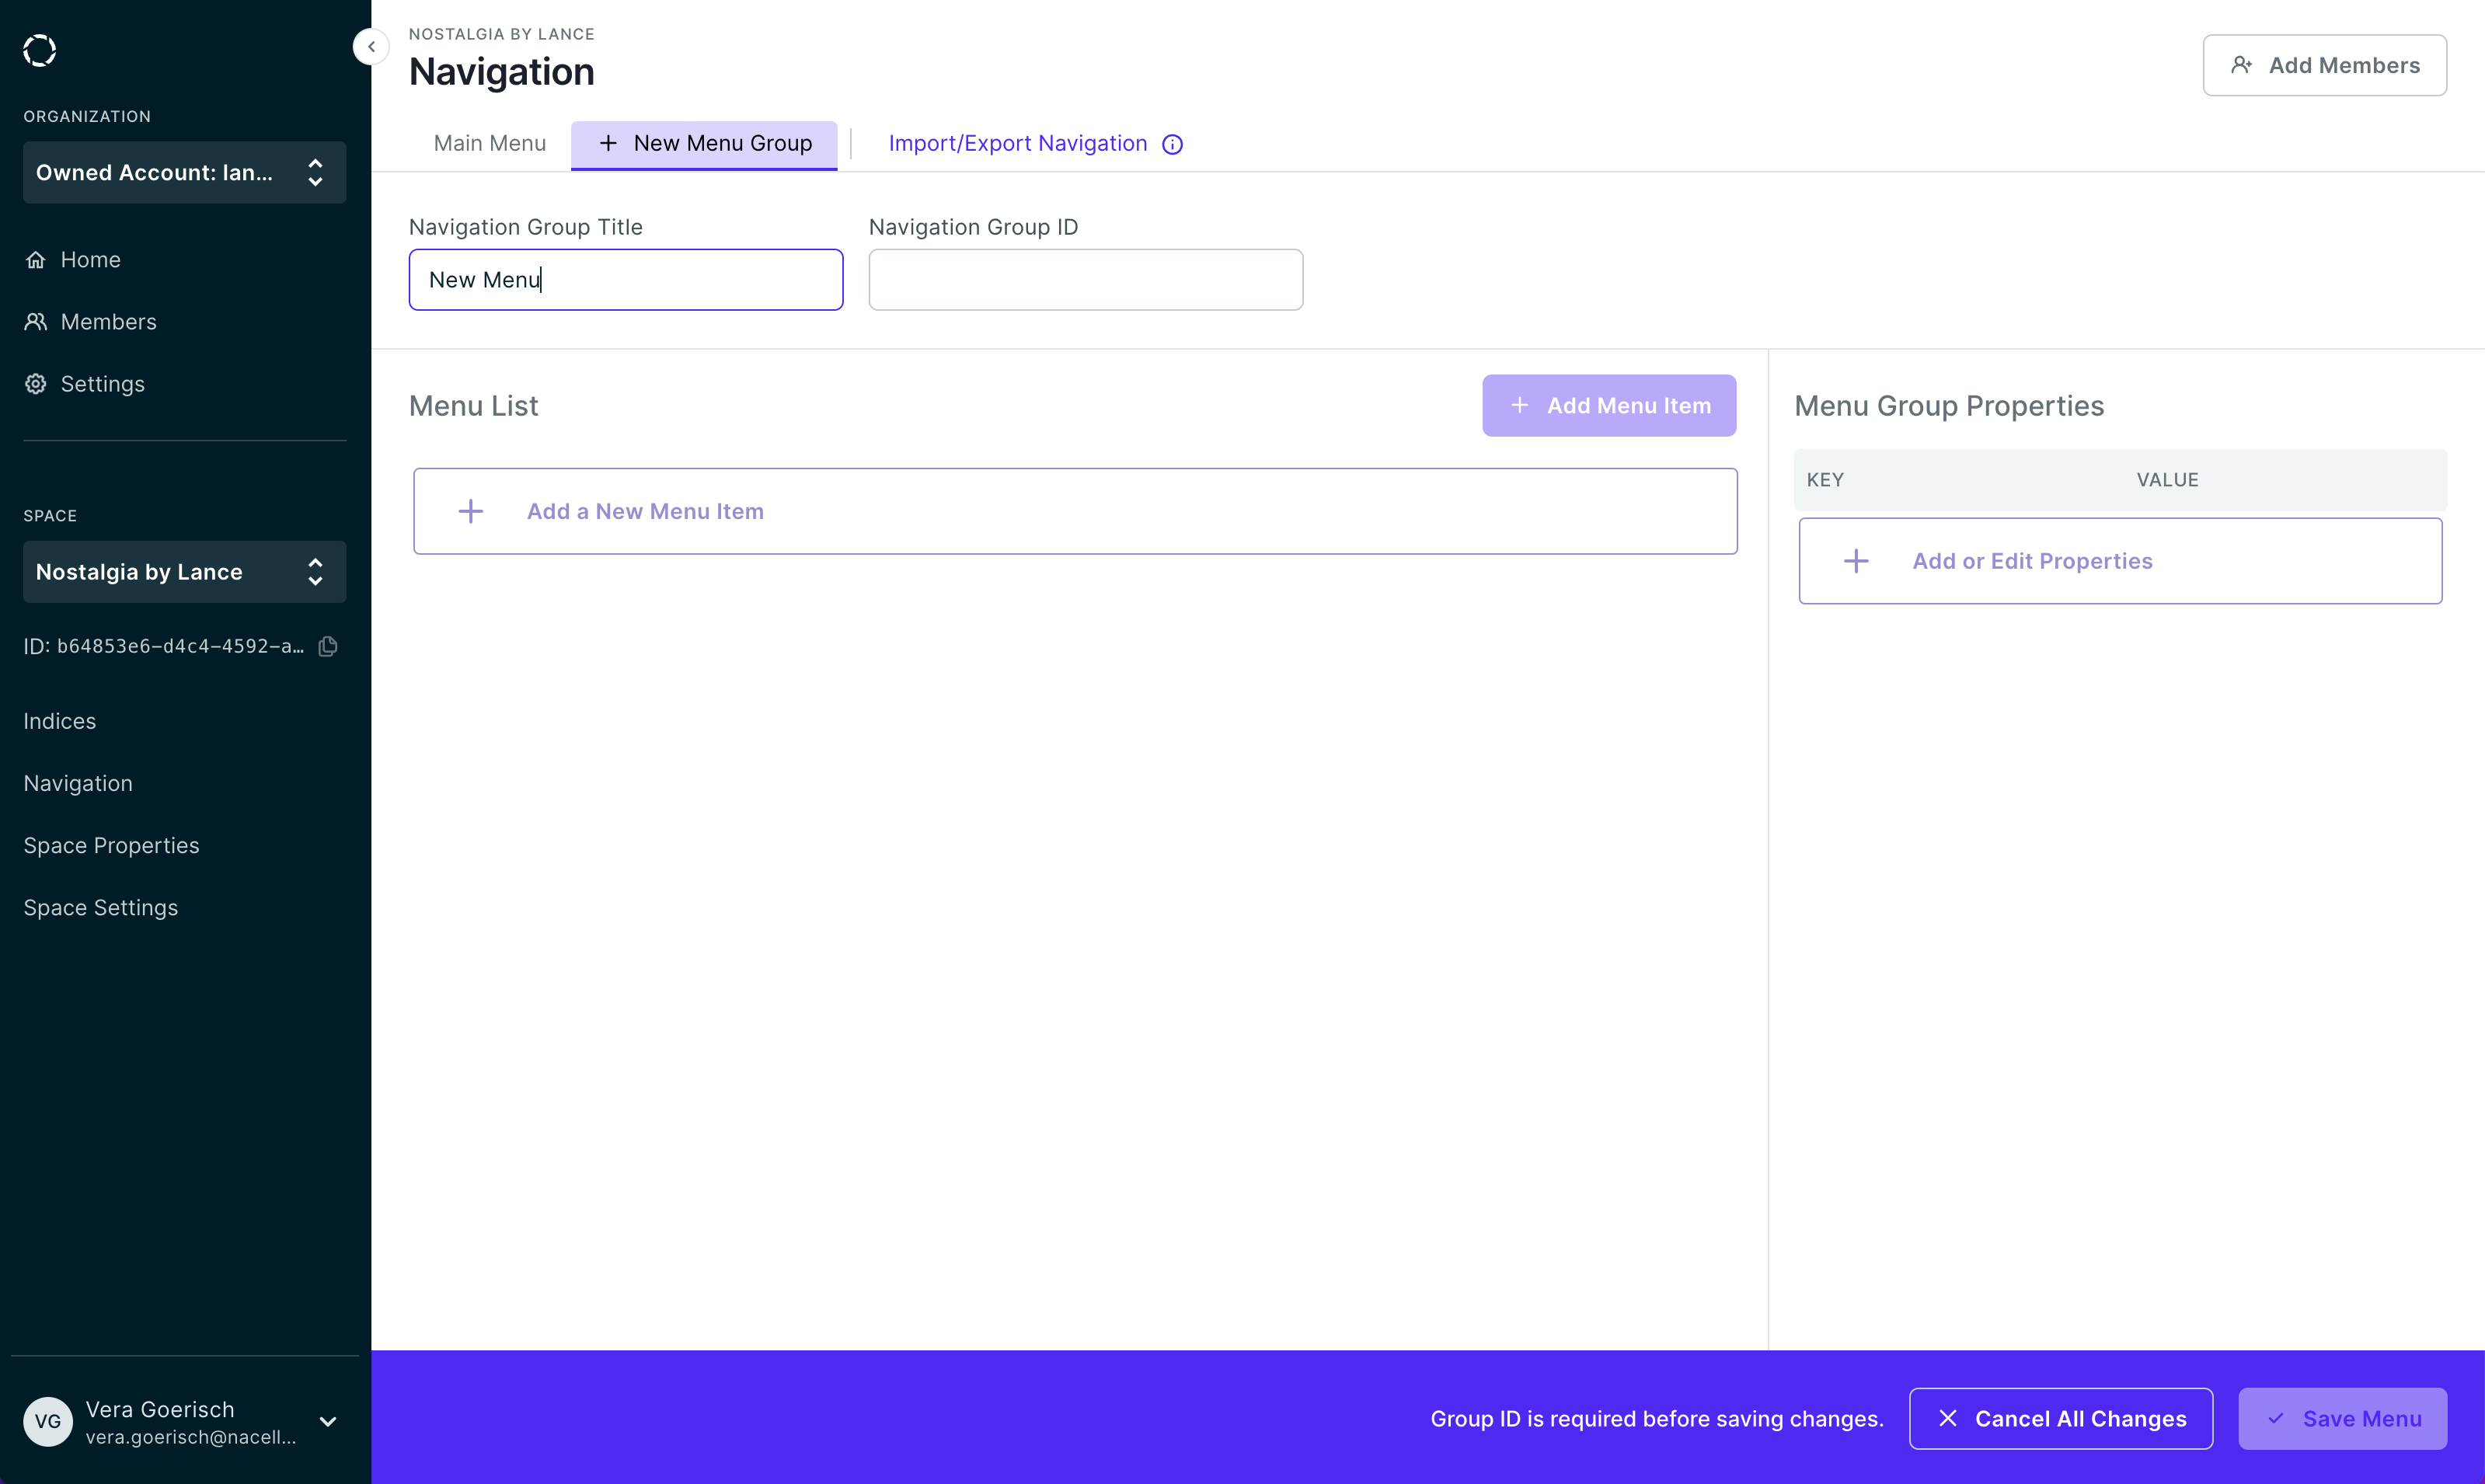
Once Group Title and ID are completed, save your changes and the group will appear as a new tab. You can now begin adding menu items to your group.
Adding menu items
Now that you have created a new Menu Group begin by clicking Add Menu Item to start your navigation system. A modal will appear, and you can start adding the details to your Menu Item.
Details: Adding a name and URL slug are required to create a menu item. You can select a page type for your item as an option.
Feature Media: Attach an image to your menu item by entering a URL to an image.
Menu Properties: Each menu item can have custom menu properties. There is no limit to the amount of key/value pairs you can add, but keys must be unique. These properties can be useful for adding extra data to your menu items.
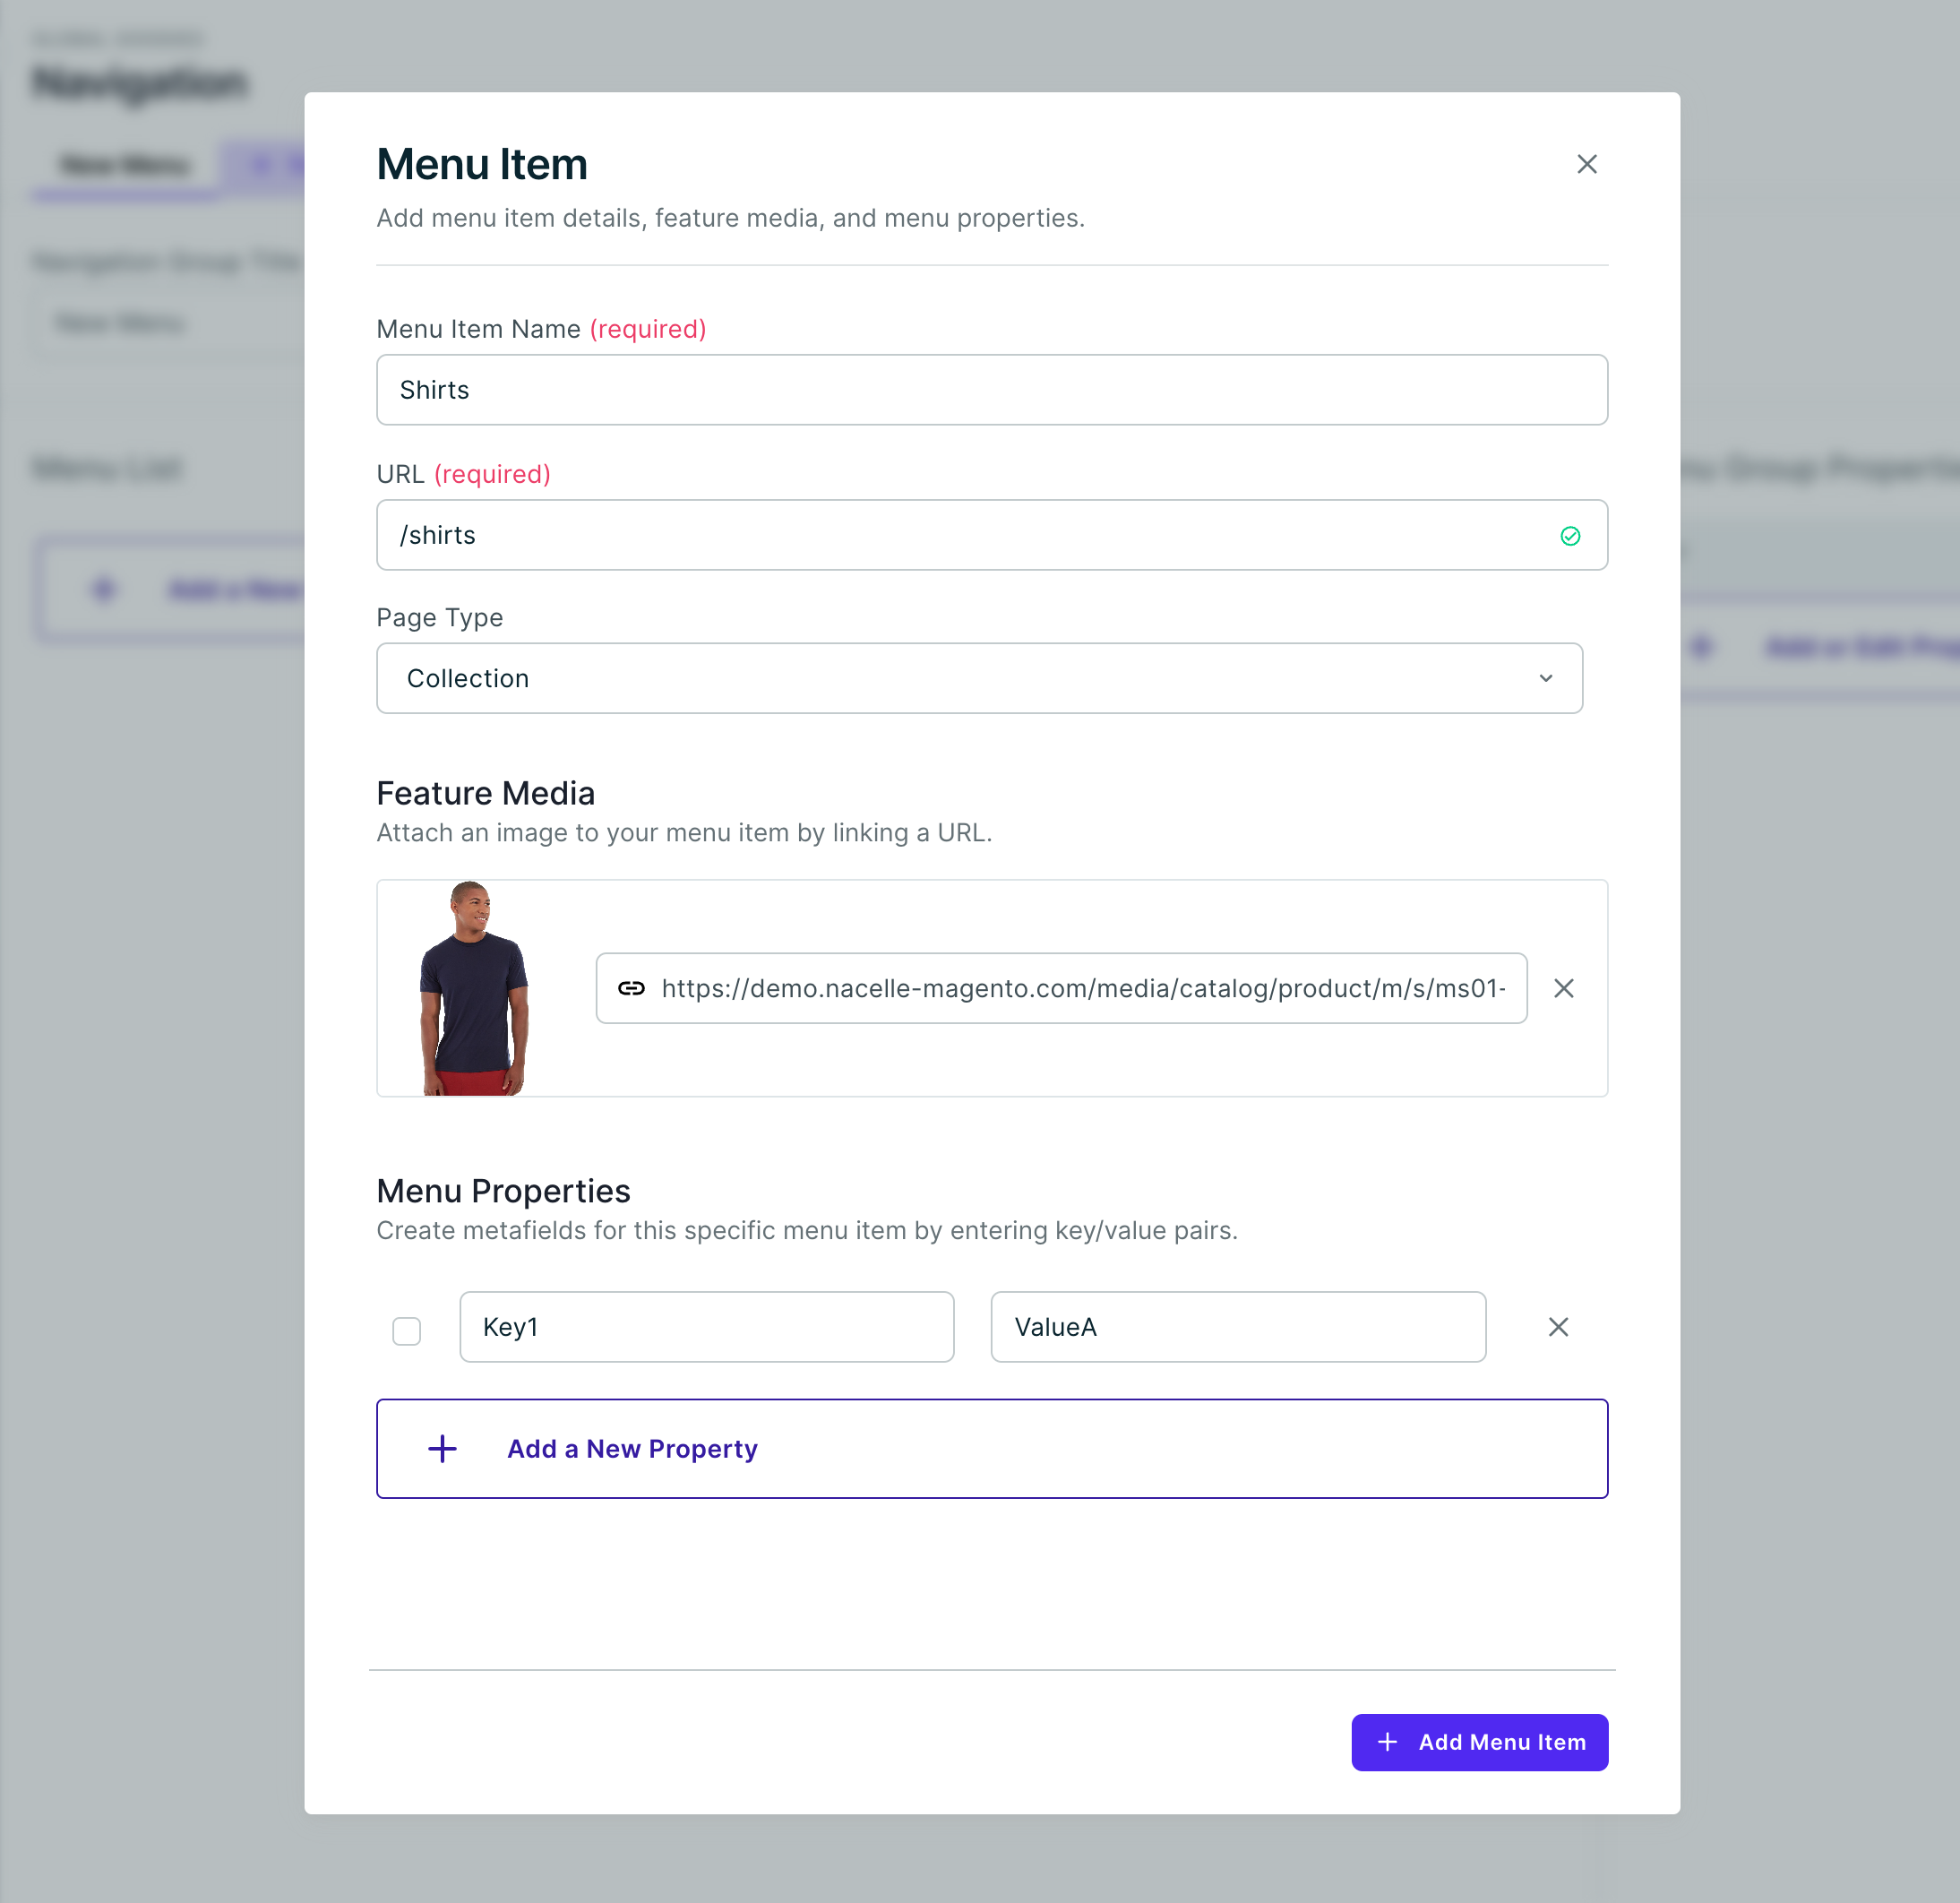
Once you’re done adding details to the menu item, be sure to click Add Menu Item at the bottom of the modal to add it to the group.
Editing and saving a menu group
To edit a menu group, select the group from the tabs. You can edit the Title and Group ID and each menu item. Ensure that your storefront application can accommodate changes to your navigation group IDs.
You can edit or delete a menu item by clicking the 3 dots icon and selecting an option from the dropdown.
Nesting menu items
Drag-and-drop items into other items to easily nest and structure your navigation system.
Nesting menu items into sub-menus can be useful to organize similar items to make it easier for a customer to navigate your storefront.
Adding menu group properties
Menu Group Properties can be added to navigation groups or menus items using the key-value pairs explained above. These properties can be useful for adding top-level data to your groups. To add or manage your group properties, click the Add or Edit Properties button.
Deleting a menu group
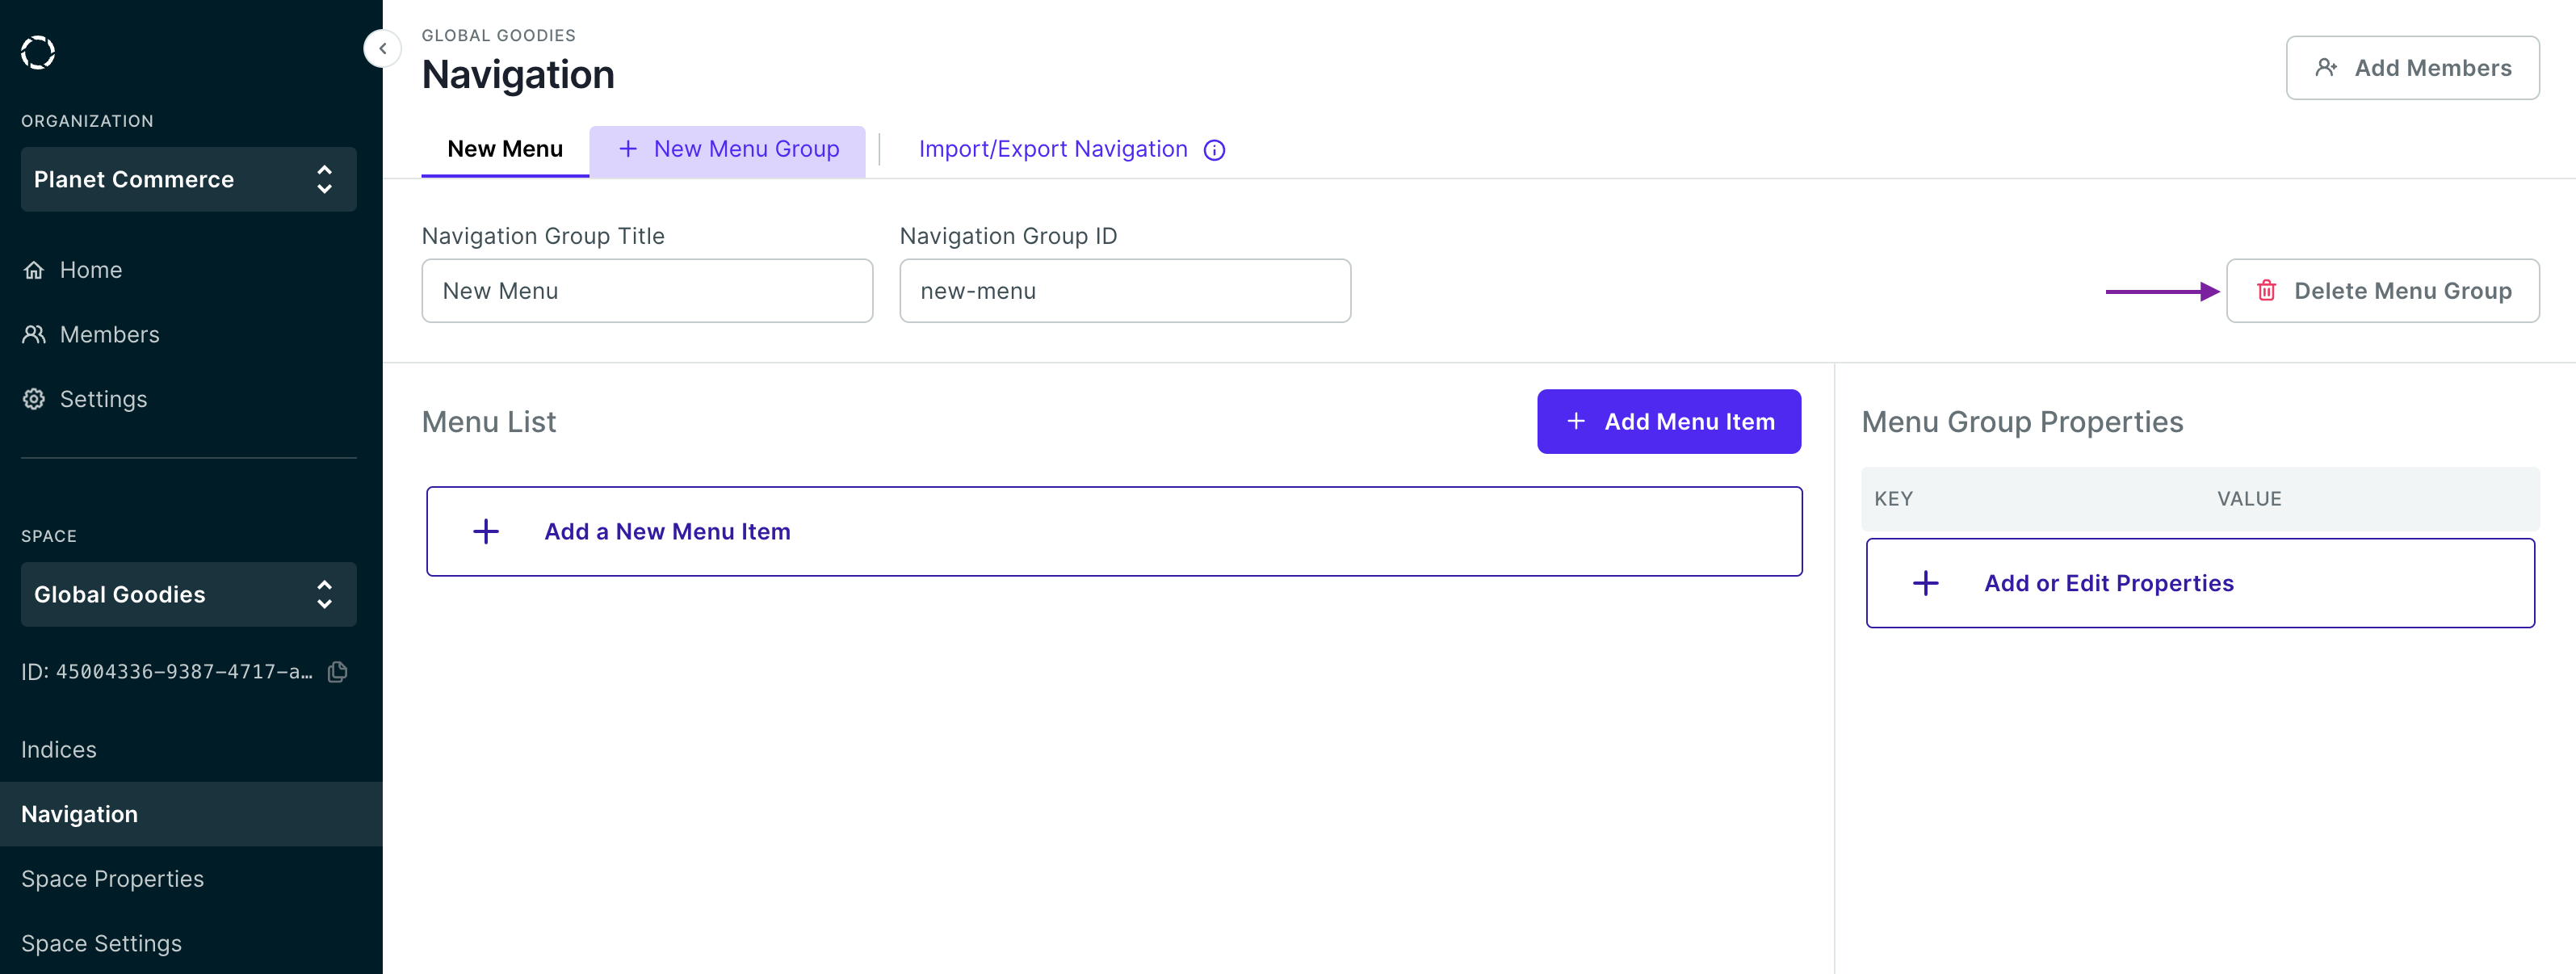
If you need to delete the entire Menu Group, choose that group in the tabs and click Delete Menu Group button.
GraphQL Output
Sample output when querying for a navigation menu from the Storefront API.
{
  groupId: 'main-menu',
  title: 'Main Menu',
  items: [
    {
      title: 'Home',
      url: '/',
      items: [],
      properties: [],
      media: []
    },
    {
      title: 'Shop',
      url: '/shop/all',
      items: [],
      properties: [
        {
          key: 'alt',
          value: 'Shop Image'
        }
      ],
      media: [{ url: 'https://my-storefront.com/images/shop.png' }]
    }
  ],
  properties: [
    {
      key: 'breakpoint',
      value: 'lg,xl'
    }
  ]
}
Updated almost 3 years ago