Campaigns
Streamline your marketing efforts with Genesis's powerful AI-driven personalization
What’s Genesis?
Genesis is Nacelle's personalization engine. It leverages generative AI to accelerate the creation of personalized content for specific audience segments, enhancing customer engagement and significantly boosting conversion rates.
Using Genesis, marketing teams can pull necessary data from customer data platforms like Klaviyo to deliver tailored shopping experiences. This empowers brands to create dynamic, audience-specific content, enhancing engagement and conversion rates.
Before you begin
Reach out to your CSM to enable Genesis in your space.
- In your Nacelle Dashboard, navigate to Genesis Settings, and click Enable Genesis:
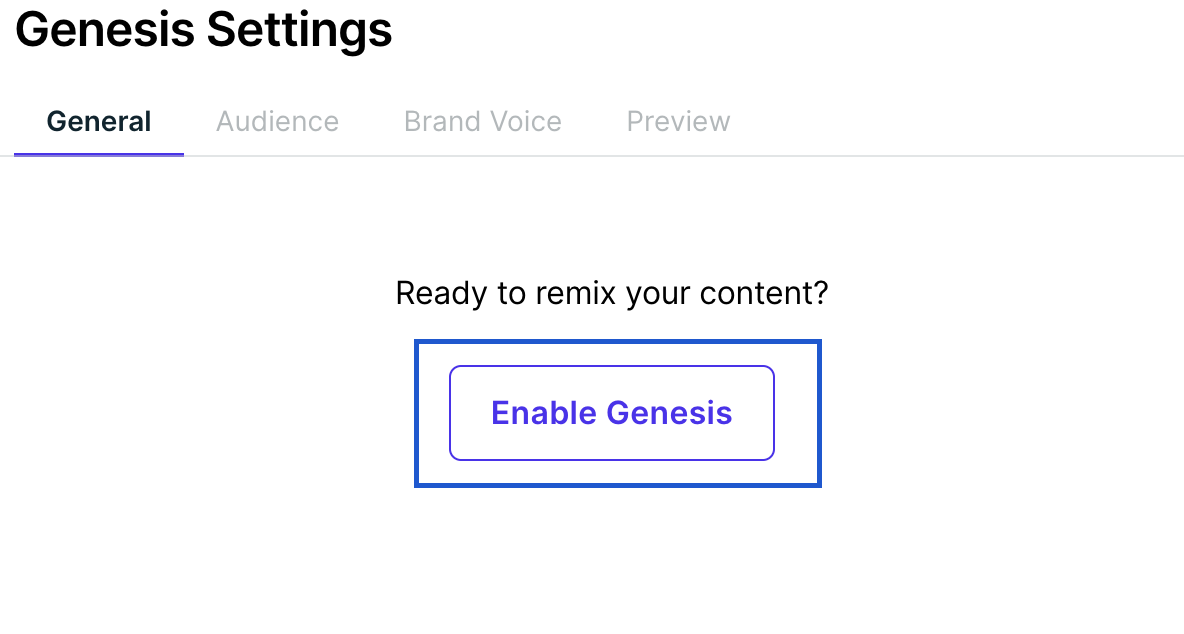
- Configure the rest of the Genesis Settings.
Creating a Campaign
-
Log into the Nacelle dashboard.
-
Click on Campaigns to view your team's campaigns.
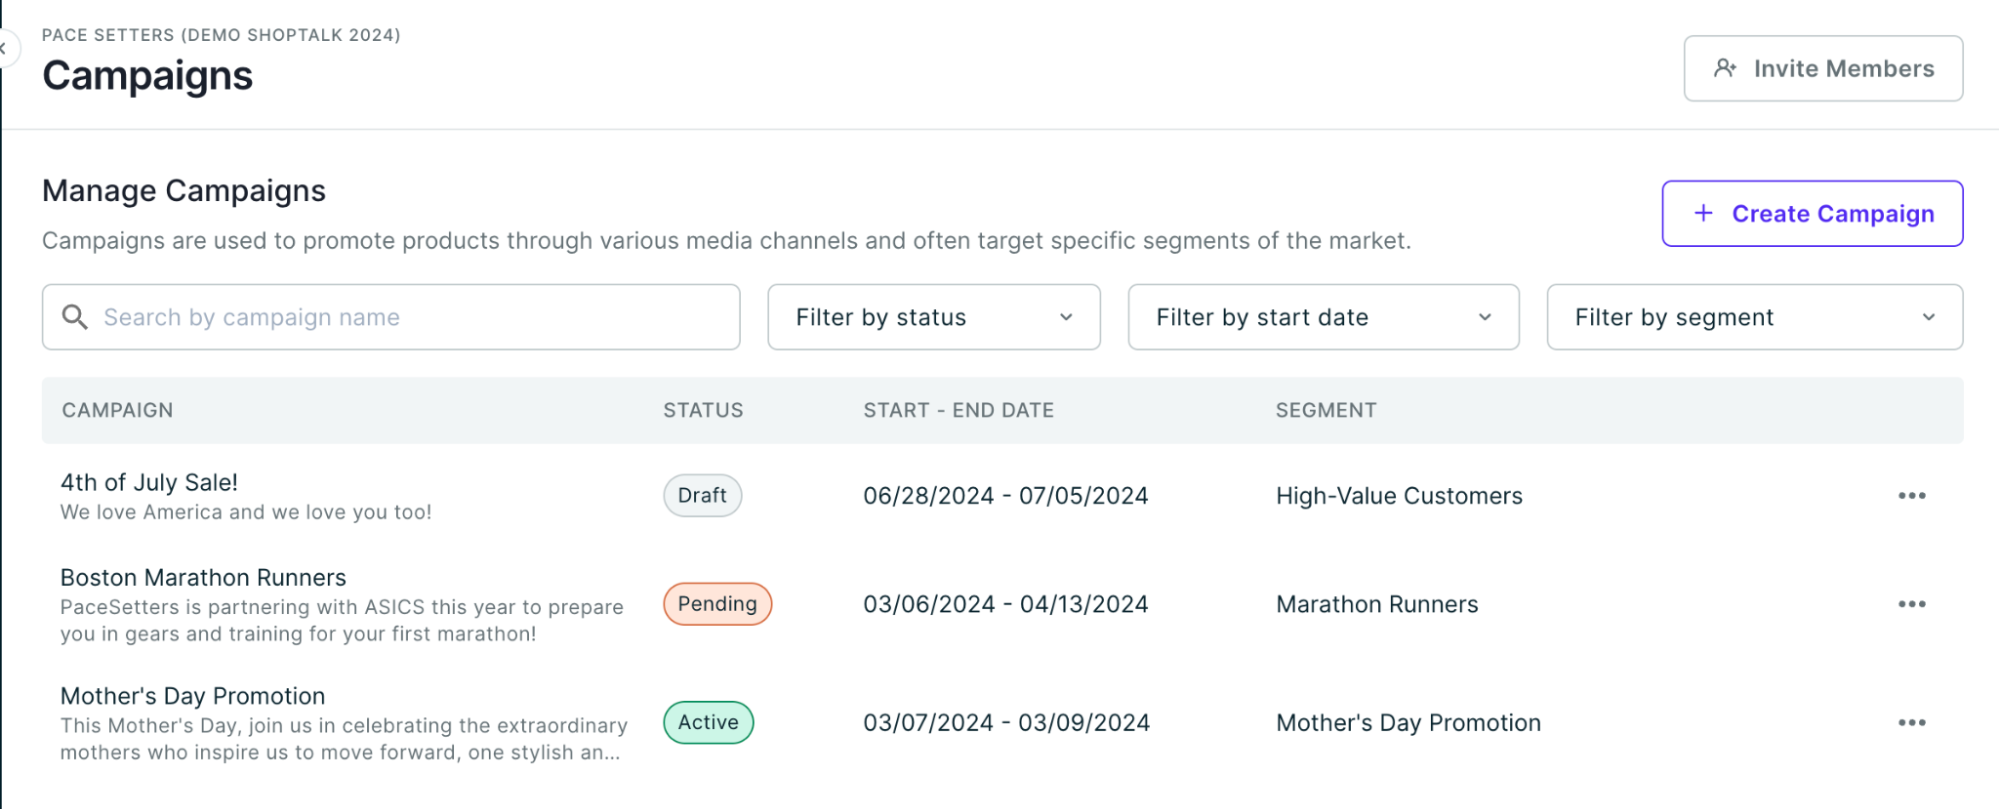
Campaign statuses include:
- Draft: Campaign being assembled.
- Approved: Reviewed and approved by stakeholders.
- Active: Live campaign.
- Archived: Inactive campaign.
-
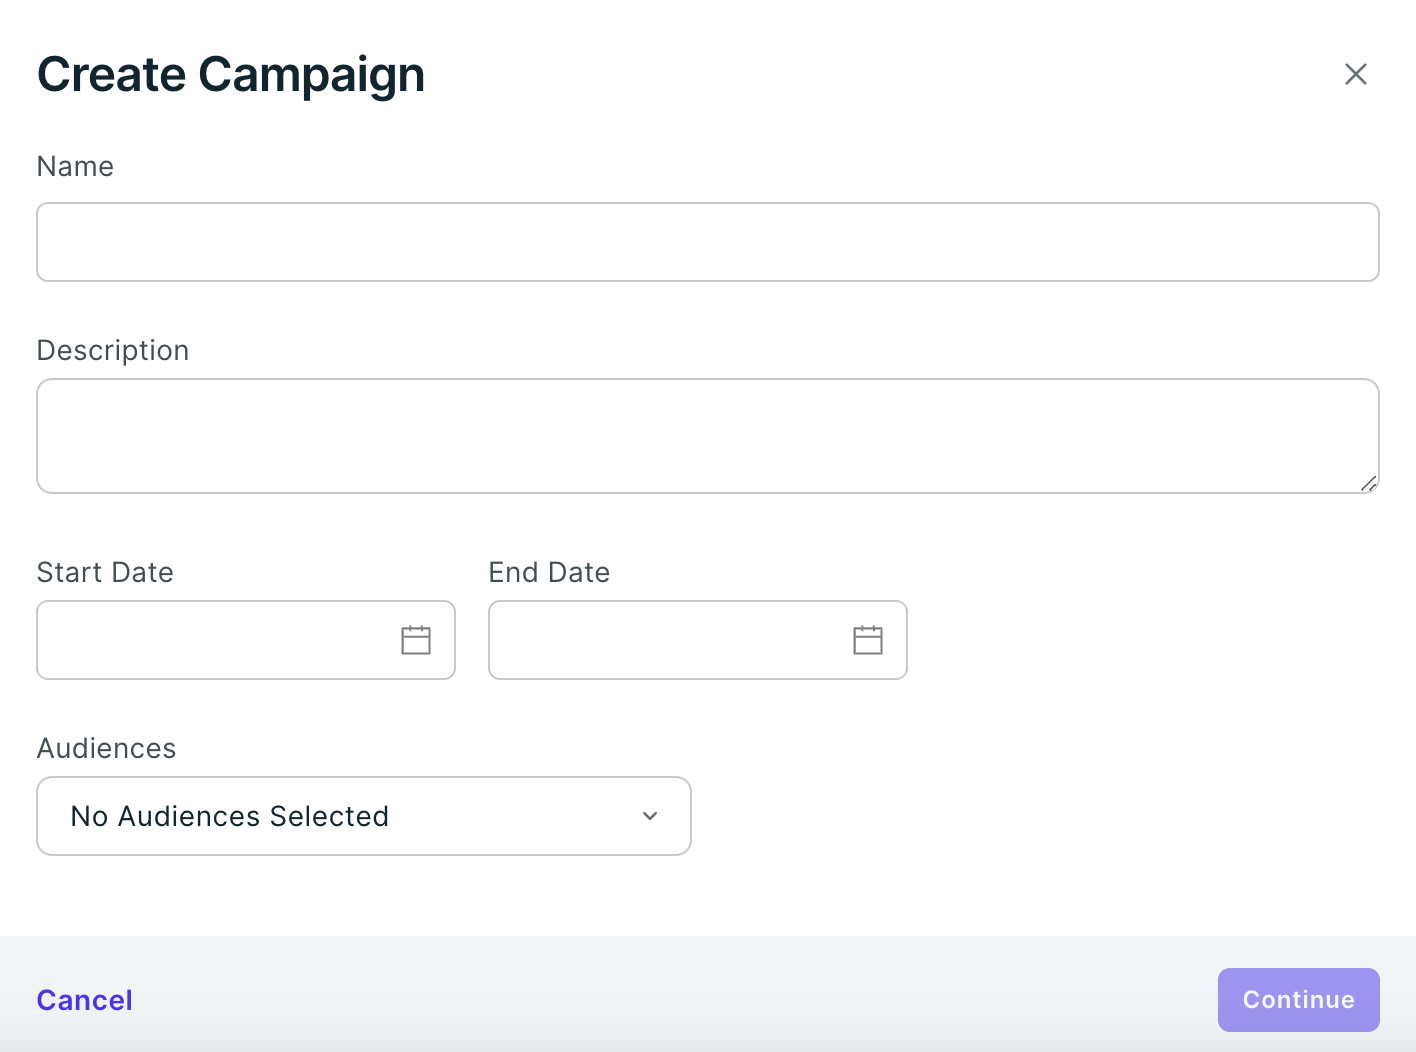
Click on Create Campaign button to start a new campaign. Define the Campaign Name, Description, Start Date/Time, End Date/Time, and the Segments (the list of audiences associated with this campaign). Once a campaign status expires (End Date exceeded), the link reverts to the original content, and the campaign is archived.
-
Click on Continue.
-
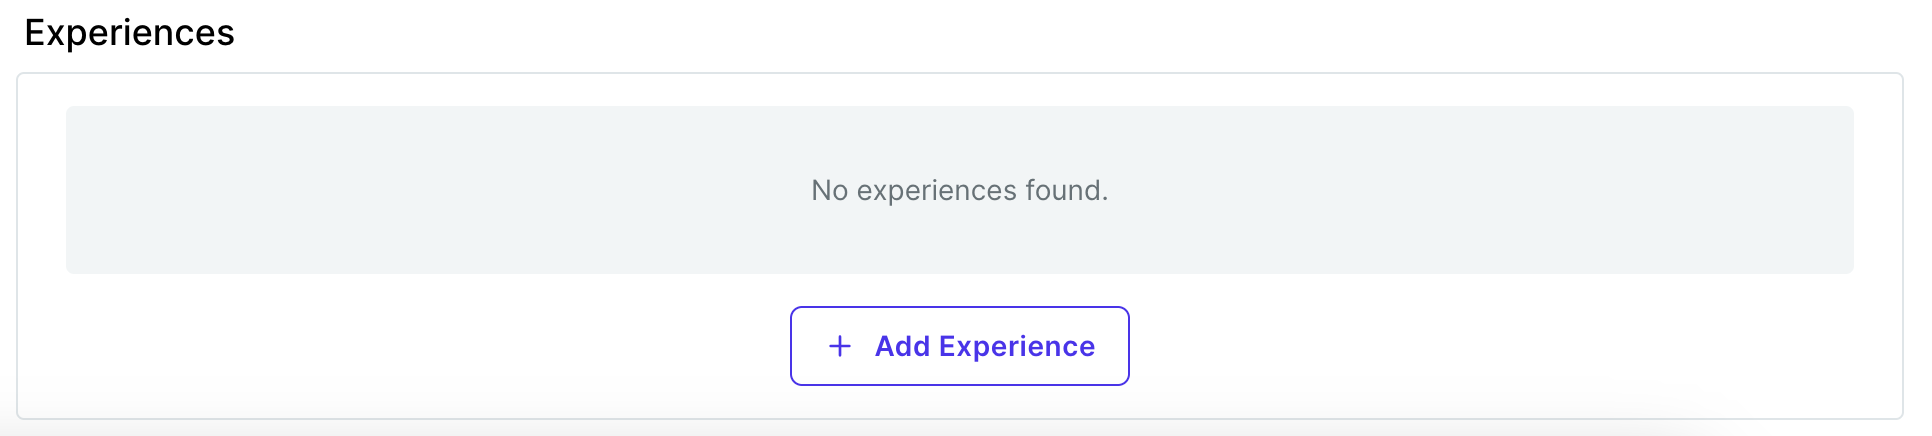
Scroll down to the Experiences section and click Add Experience.
-
Click on Create a New Remix.
-
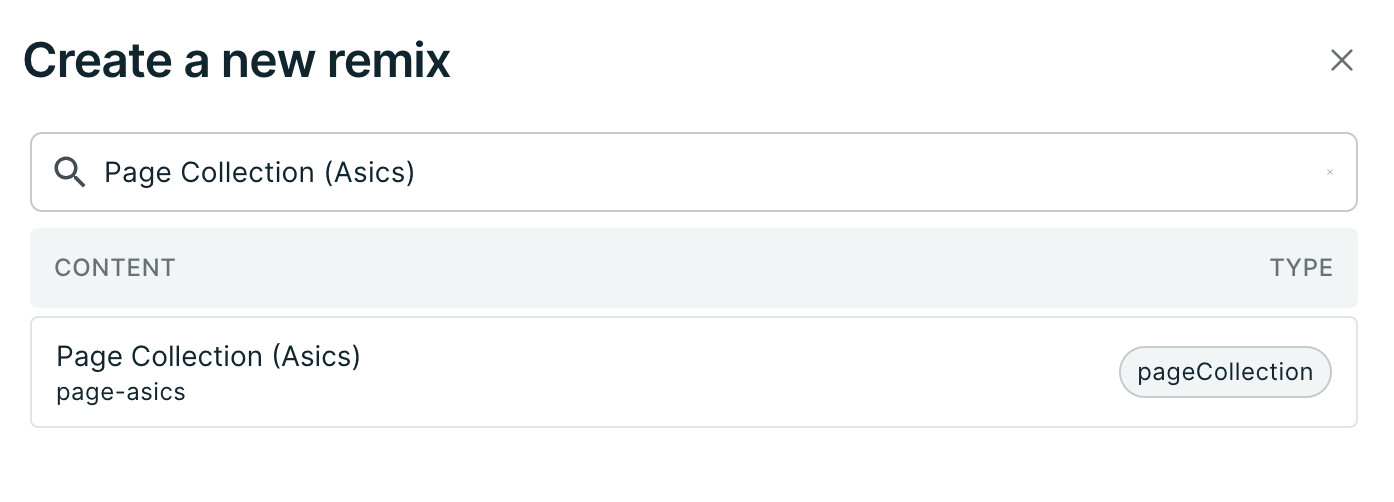
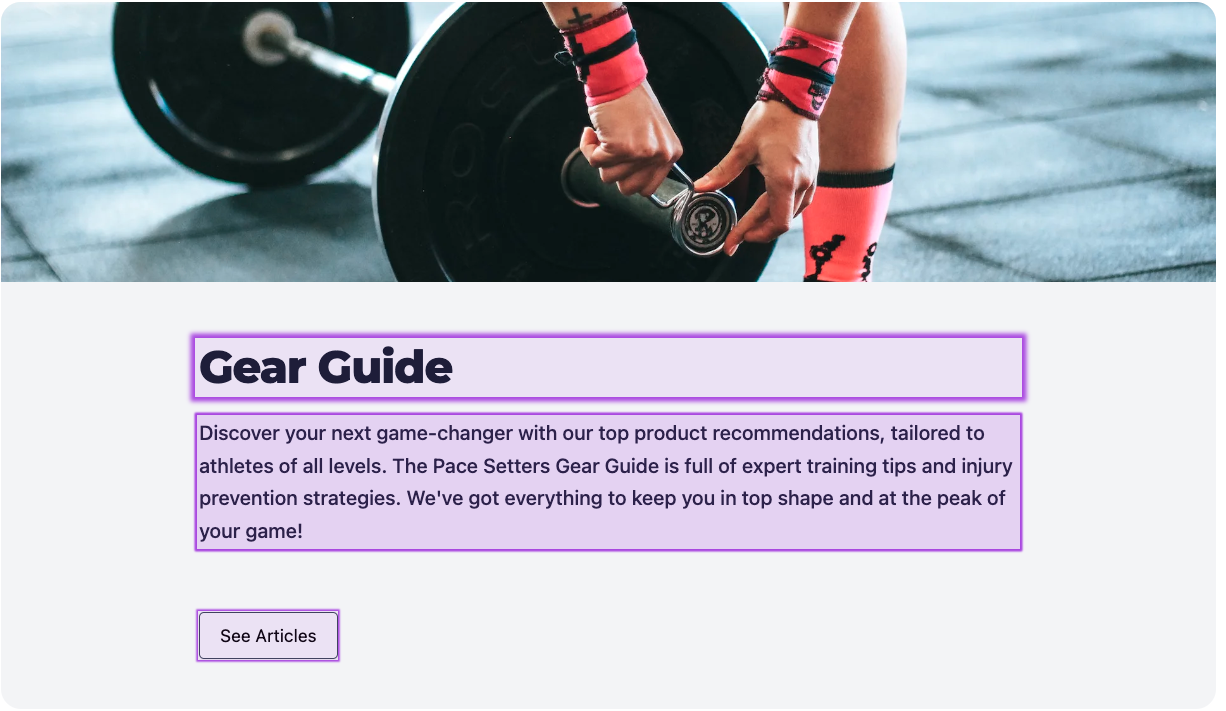
Search for the page you’d like to remix by name or handle and click on the entry.
-
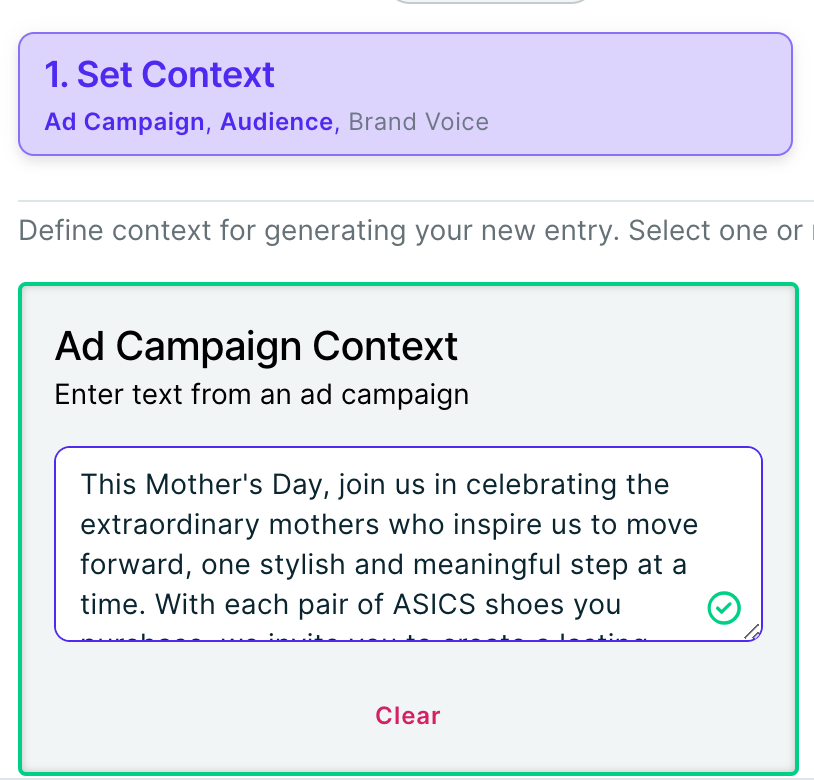
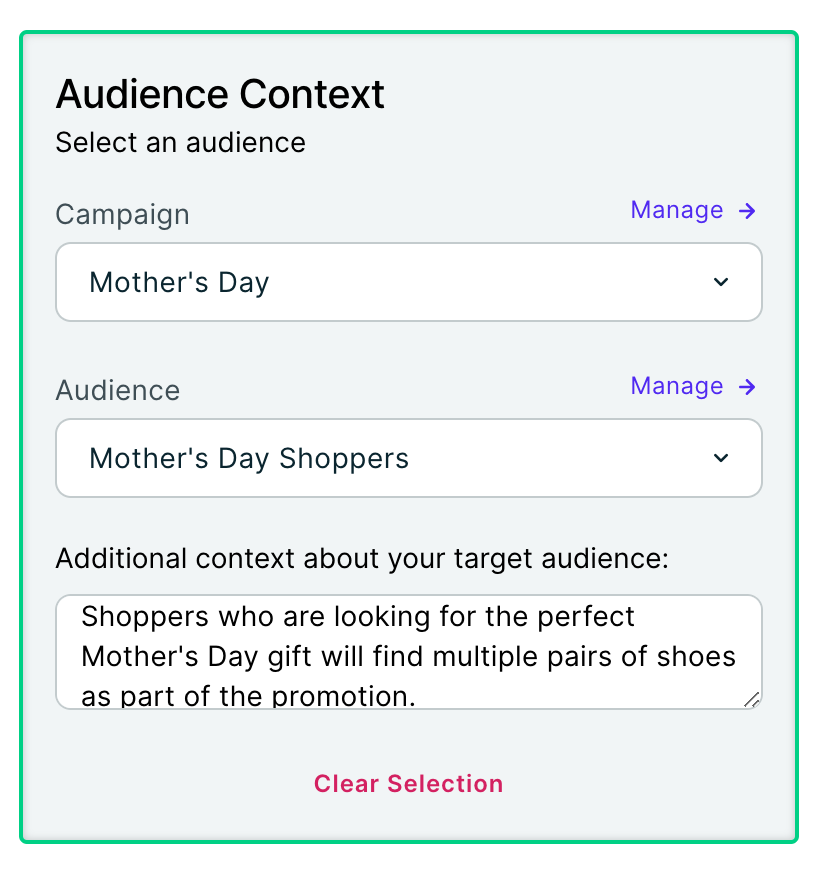
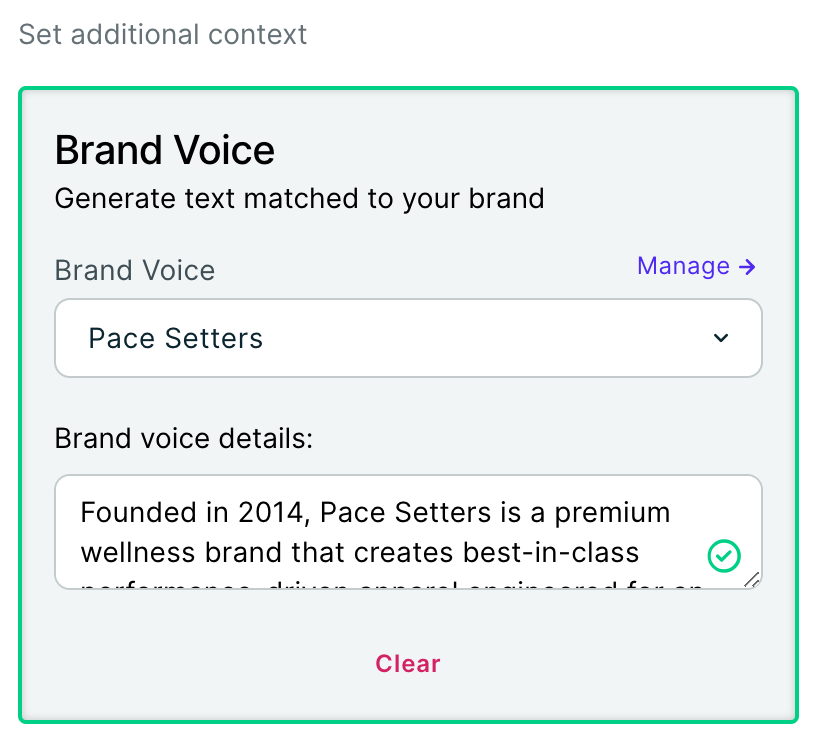
Input the following information for the Remix, detailing each block's relevance for personalization:
-
Ad Campaign Context: The setting and details of an advertising campaign, including target audience, objectives, messaging, channels, budget, and timeline. For example: "This Mother's Day, celebrate extraordinary mothers with ASICS shoes. Buy a pair and get a second pair for your mother at 50% off."
-
Audience Context: The target group for a marketing campaign. For example: "Mother’s Day Shoppers."
-
Brand Voice: The distinct personality and communication style of a brand that reflects its values and connects with its audience.
-
-
Click on Next.
-
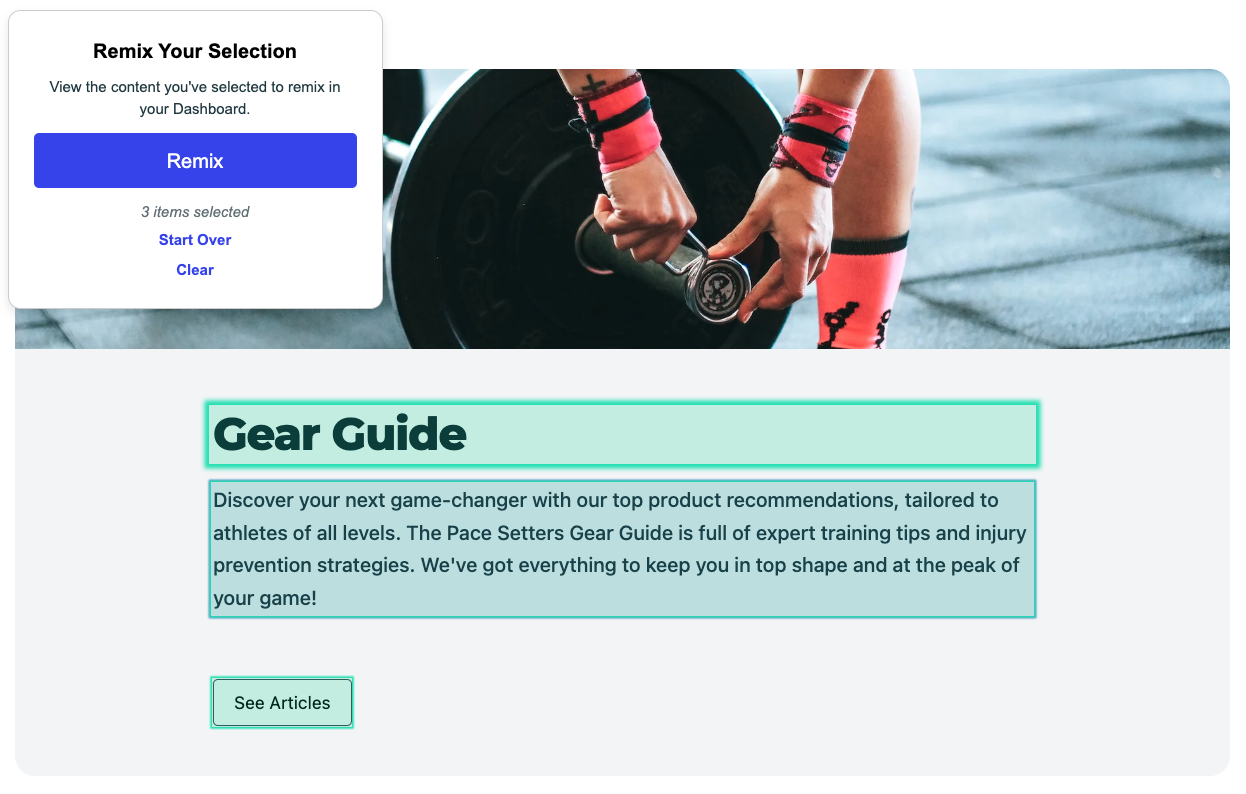
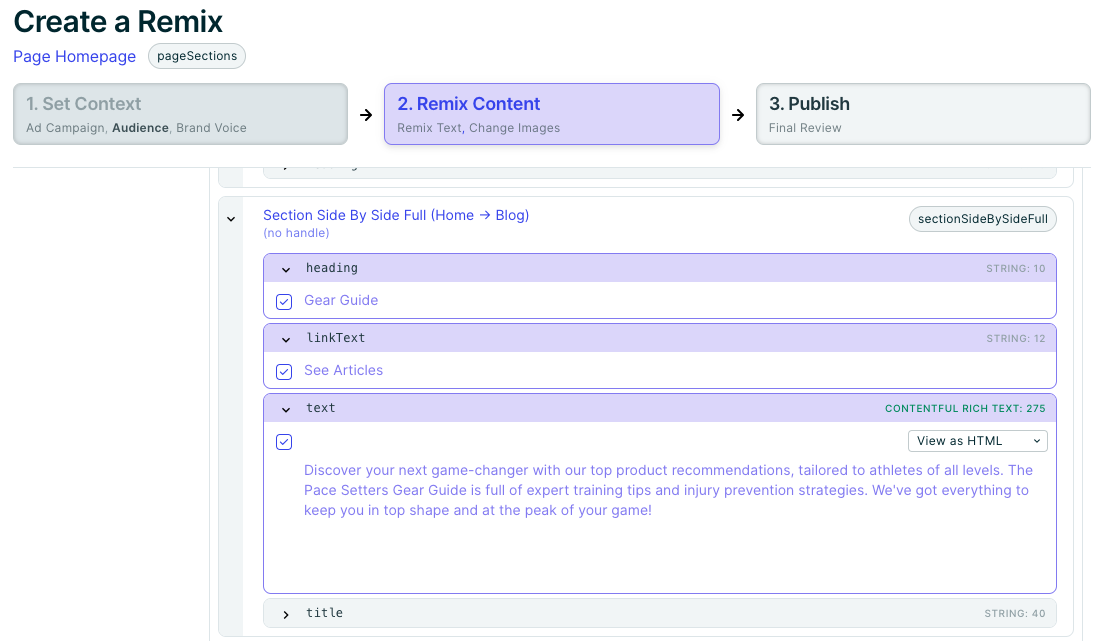
Select the elements you’d like to Remix.
-
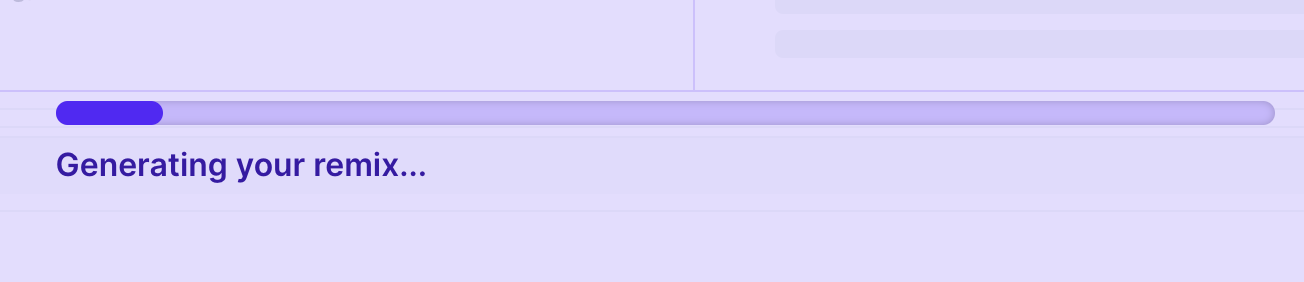
Click on Generate.
-
Verify the remixed content. If you would like to update anything, click on Edit. Click the Change Images button to upload any custom graphics.
-
Click on Done with Content.
-
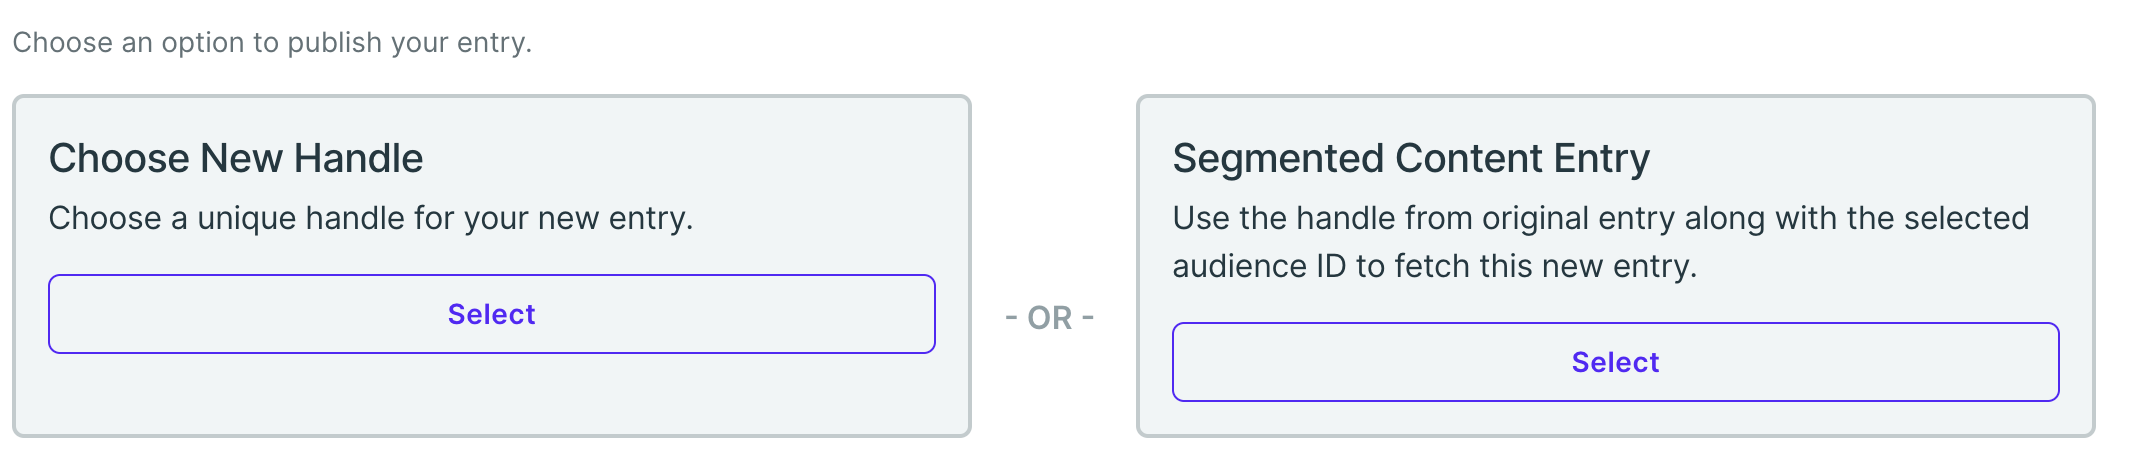
Select how you want to generate the handle for the new content.
-
Click Publish
Chrome Extenson
Enhance your remix experience with the Genesis Chrome Extension. Access it from the Chrome Web Store. Use this tool to create and manage content directly from your website, making the process easier and more efficient. After you install the extension, navigate to your website, and then begin using Genesis.
Coming Soon
- Campaign Approvals - Soon, add campaign approval flows to ensure all campaigns are signed off by the relevant stakeholders.
Updated almost 2 years ago