Account and Team Setup
A Nacelle account gives you access to the Nacelle Dashboard, where you can manage your organization, spaces, members, and profile. Below is a quick guide to getting started with your account.
Create an account
To create a new user account, head to the Nacelle Dashboard and click Sign Up. Next enter your first and last name, email, and password.
Before accessing the dashboard, you will need to verify your email address. A verification message will be sent to your email. Click the link in the message within 1 hour to complete the verification process and log in. This ensures that only authorized users have access and guarantees accurate email communication.
Set up your organization
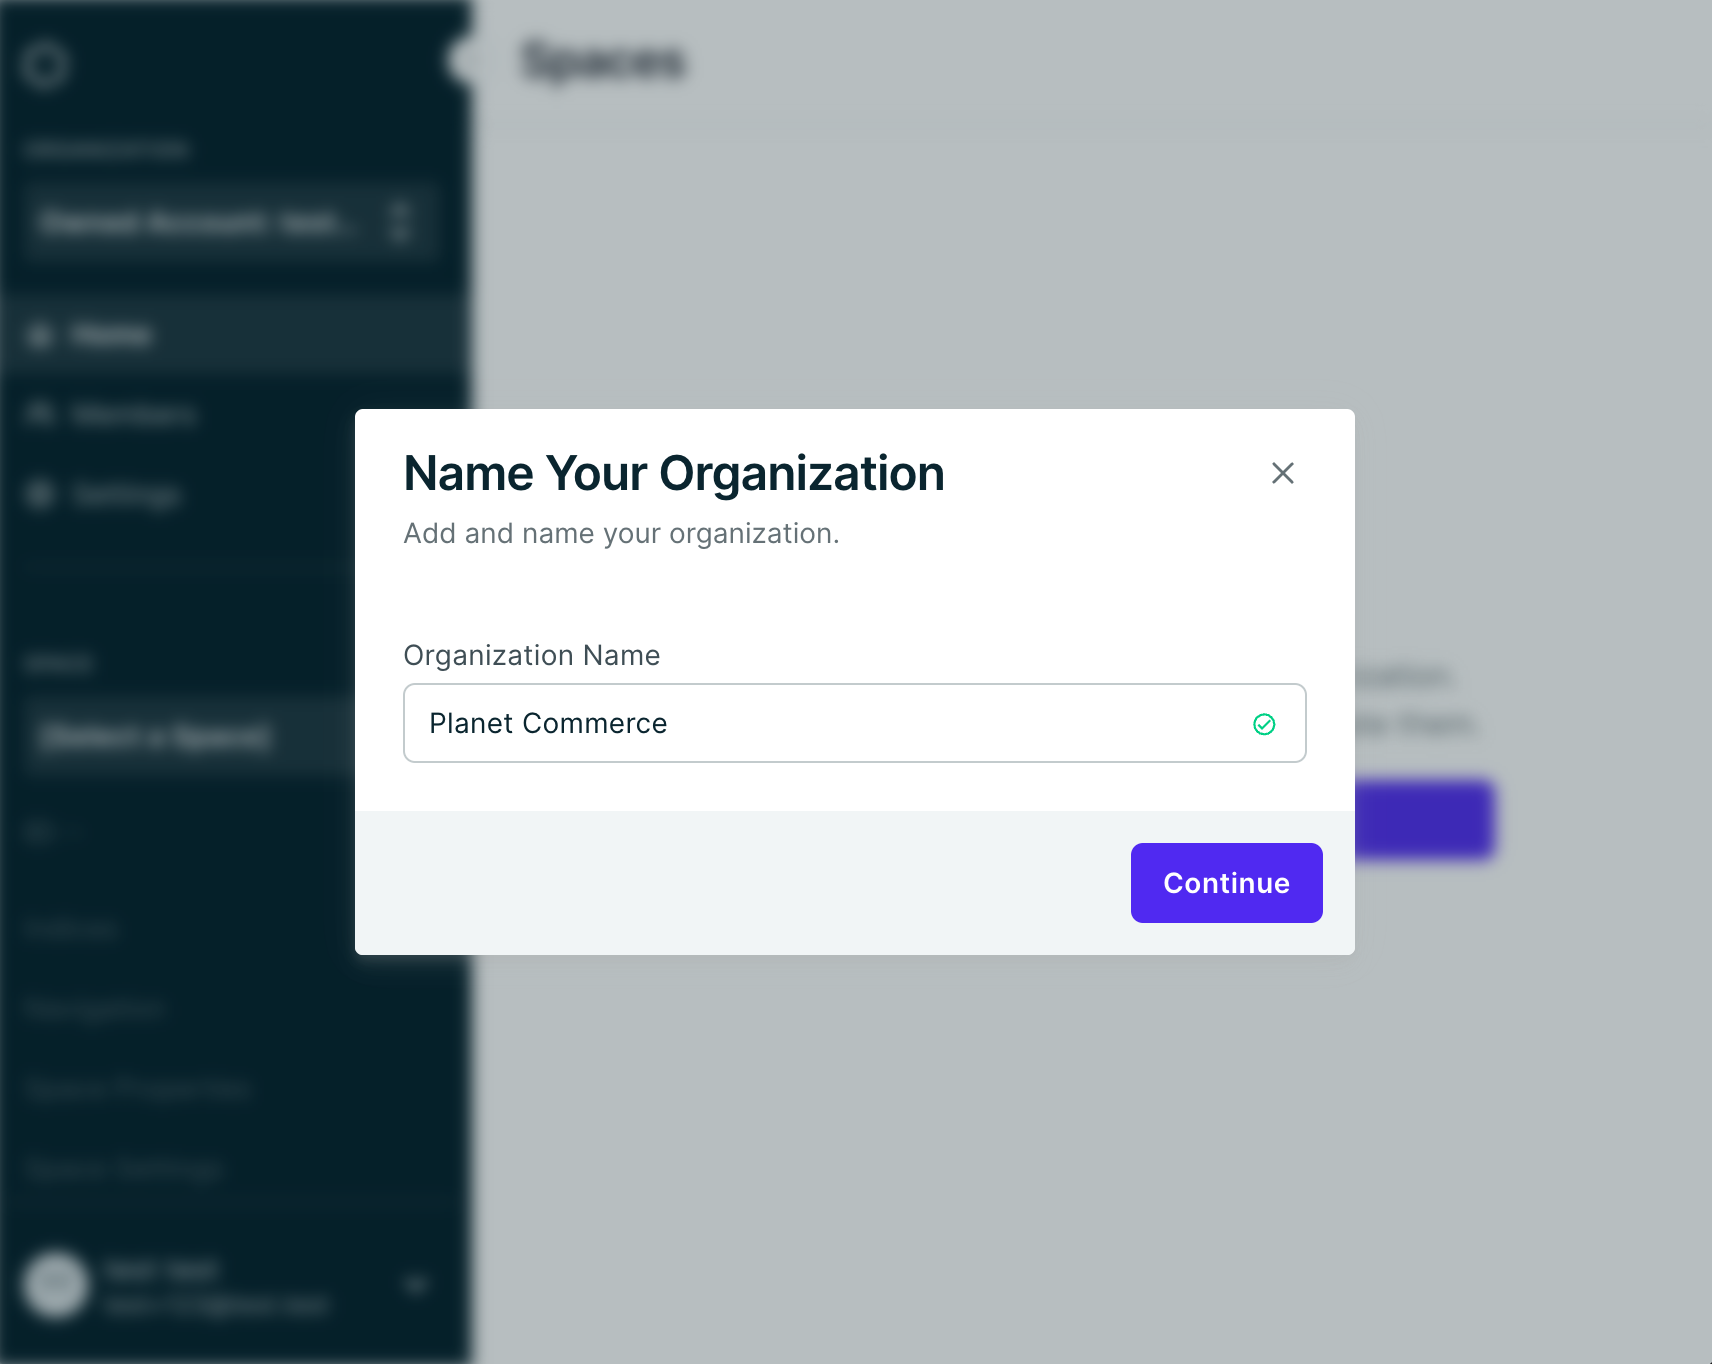
Once you successfully log in, you’ll immediately be prompted to name your organization. The “Organization Name” will be the name reflected throughout the product and the name others will see when you invite them into your organization.
You can manage your user profile settings by clicking the menu at the bottom of the main sidebar.
Manage your team
There are different approaches to add (or remove) members to your organization.
- You can add members to your organization with access to all spaces in your organization -- these are Admins.
- You can also add members with restricted access to specific space(s) -- these are Editors.
Option 1a: Invite members to your organization
Adding members to your organization is a good option if you want to add multiple people simultaneously.
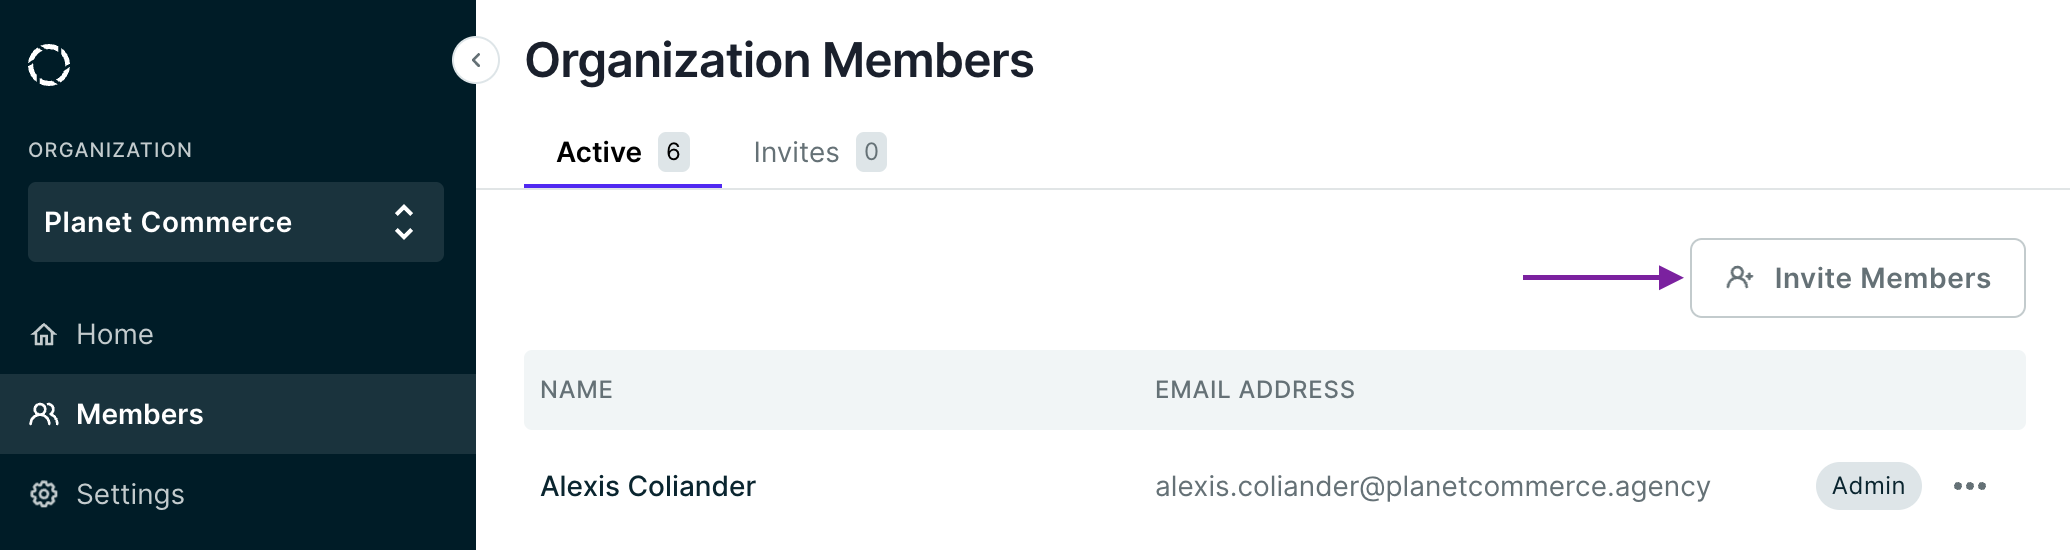
To invite members directly to your organization, simply select "Members" from the main sidebar under your organization name and click the Invite Members button.
Option 1b: Remove members from your organization
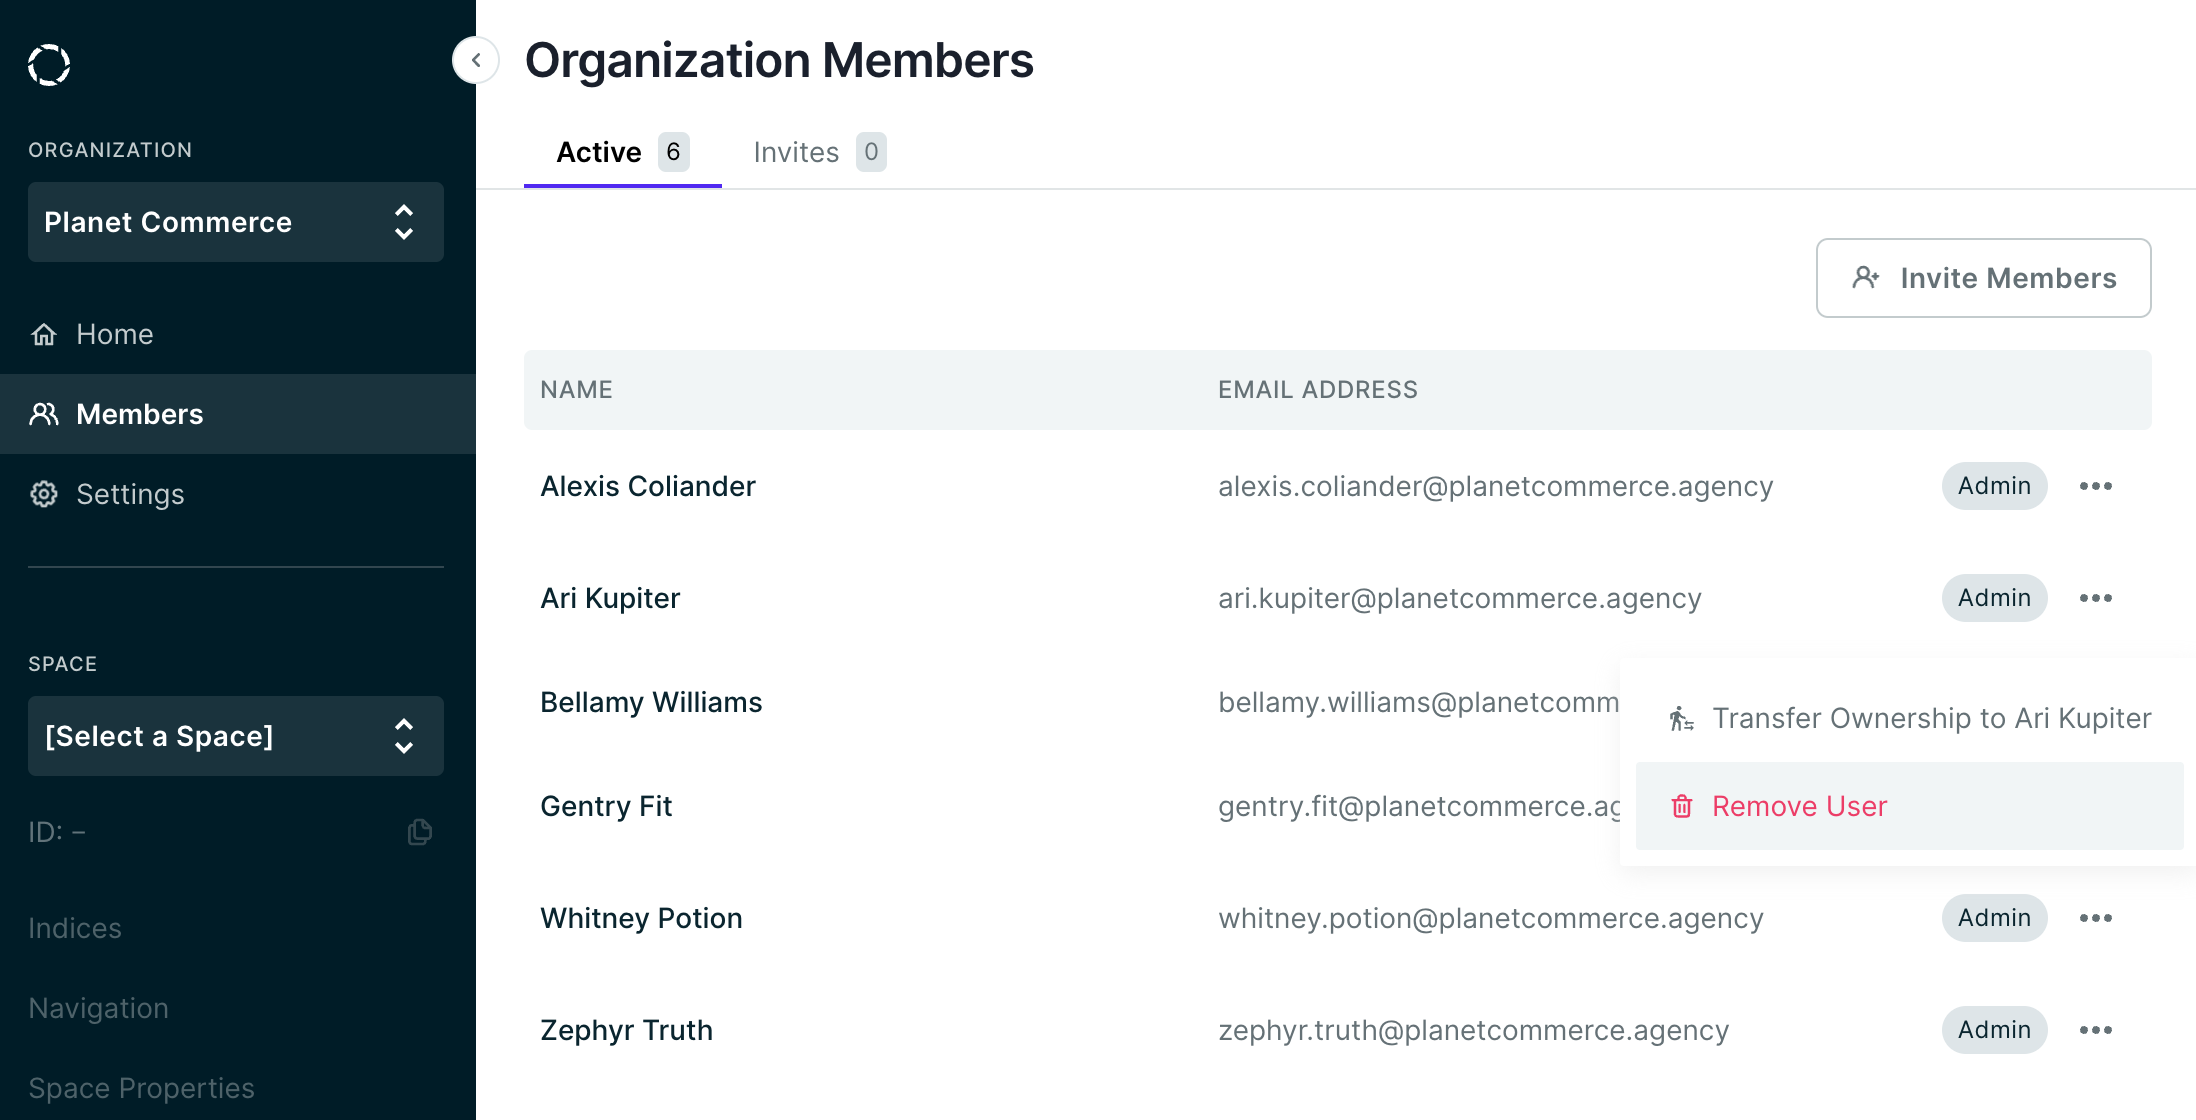
To remove members, click on “Members” in the main sidebar under your organization name. In the “Active” tab, click the 3 dot menu icon for the user you’d like to remove and select Remove User from the menu.
Option 2a: Invite members to a specific space
Spaces are containers of commerce and content data derived from your composed data sources. An organization can have many spaces.
Adding a member to a space as an Editor means that member will only have access to that space unless you go into another space and add the member there as well.
Select a space from the spaces dropdown to invite members directly to the space. Next, click the Add Members button in the top right of the interface:

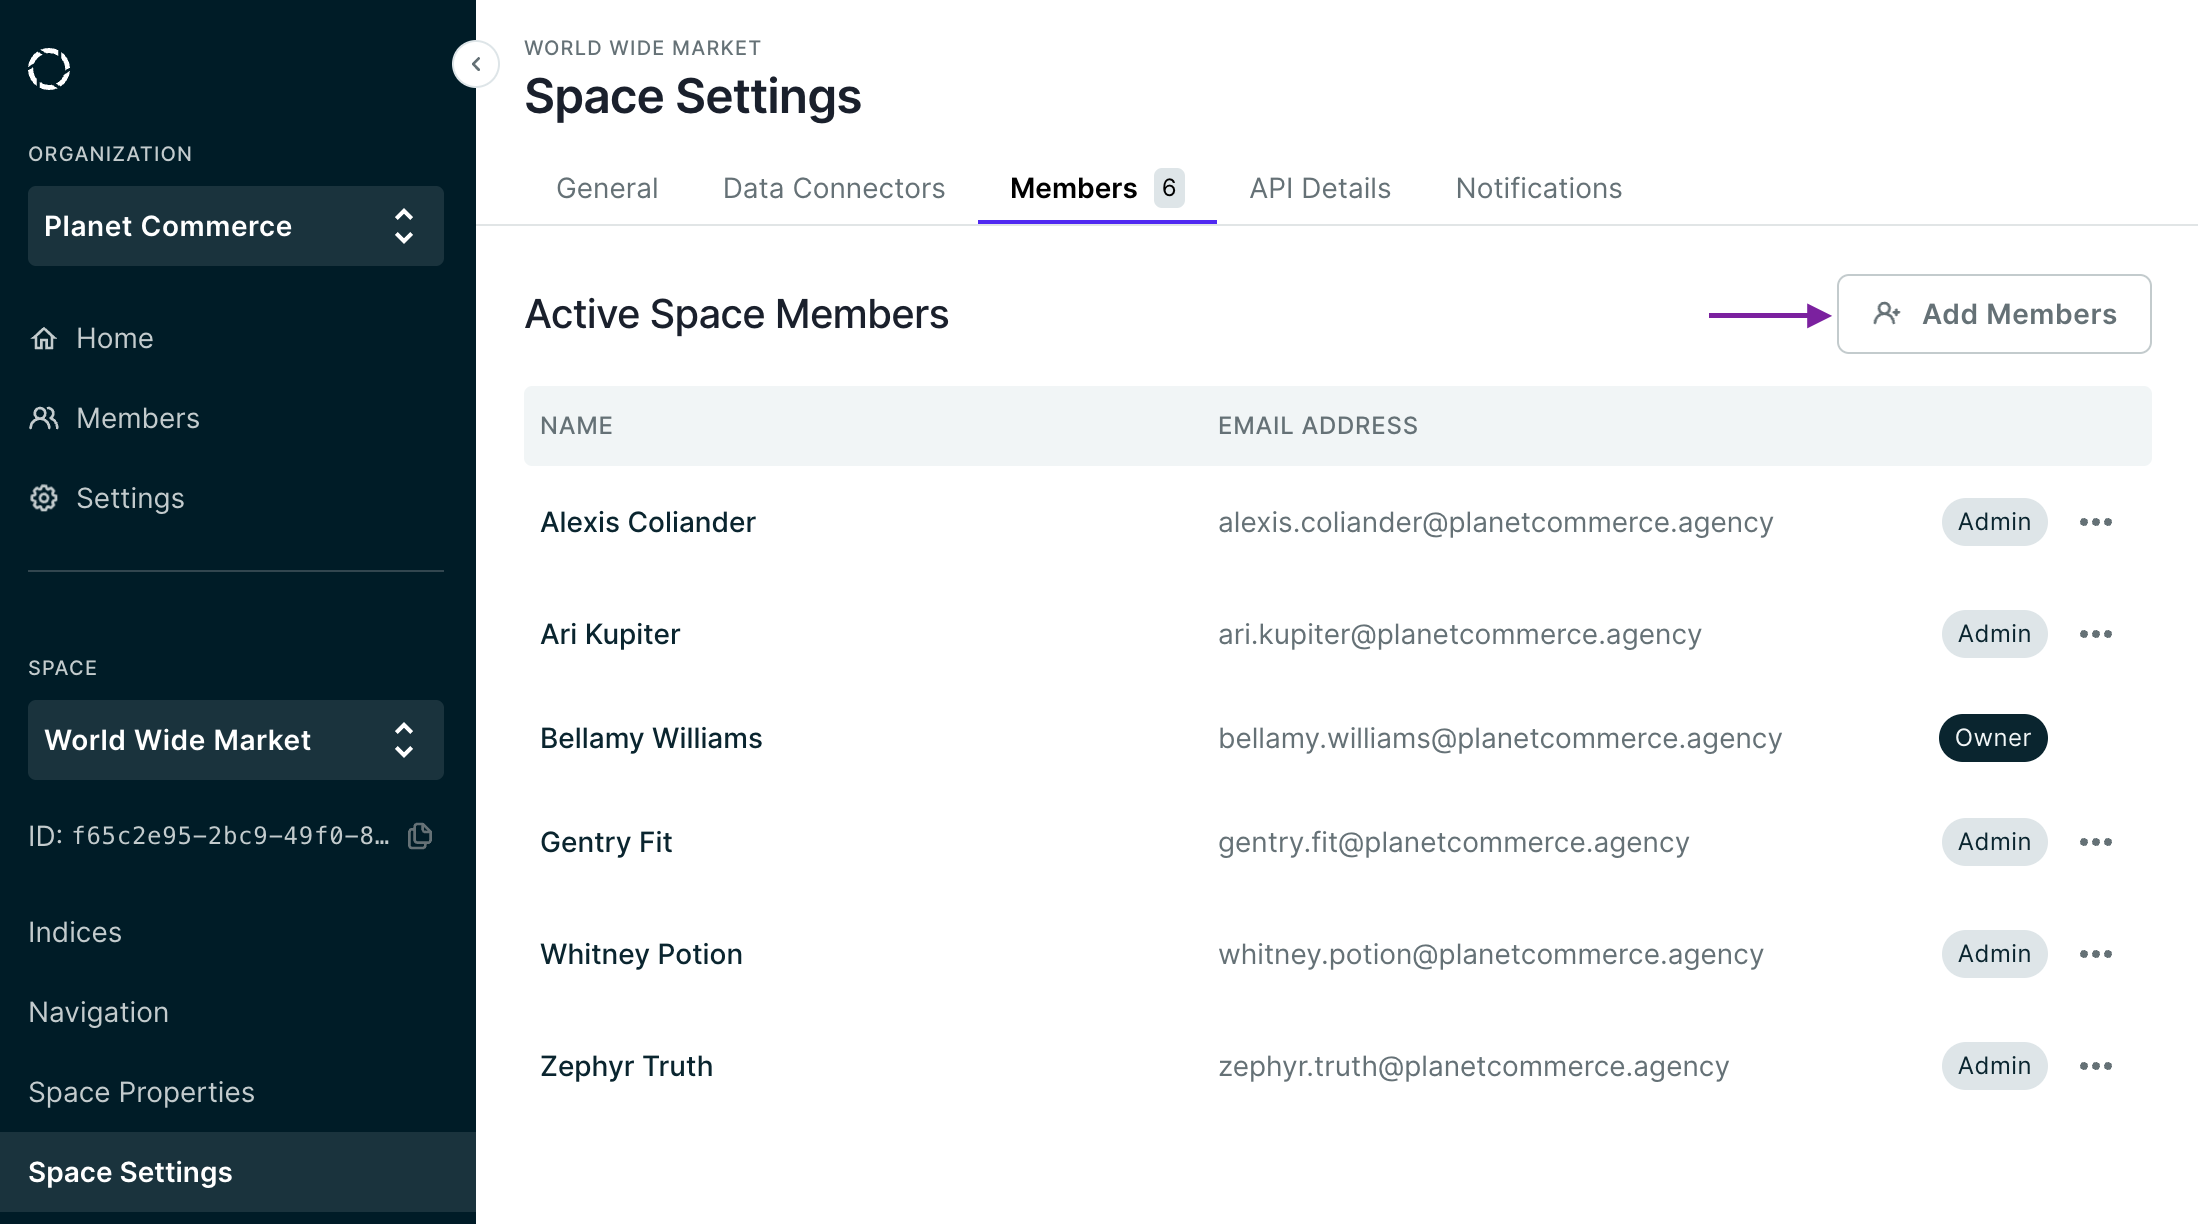
Alternatively, you can select the “Space Settings” menu option in the main sidebar. Then, navigate to the “Members” tab and click the Add Members button in the page's header area:
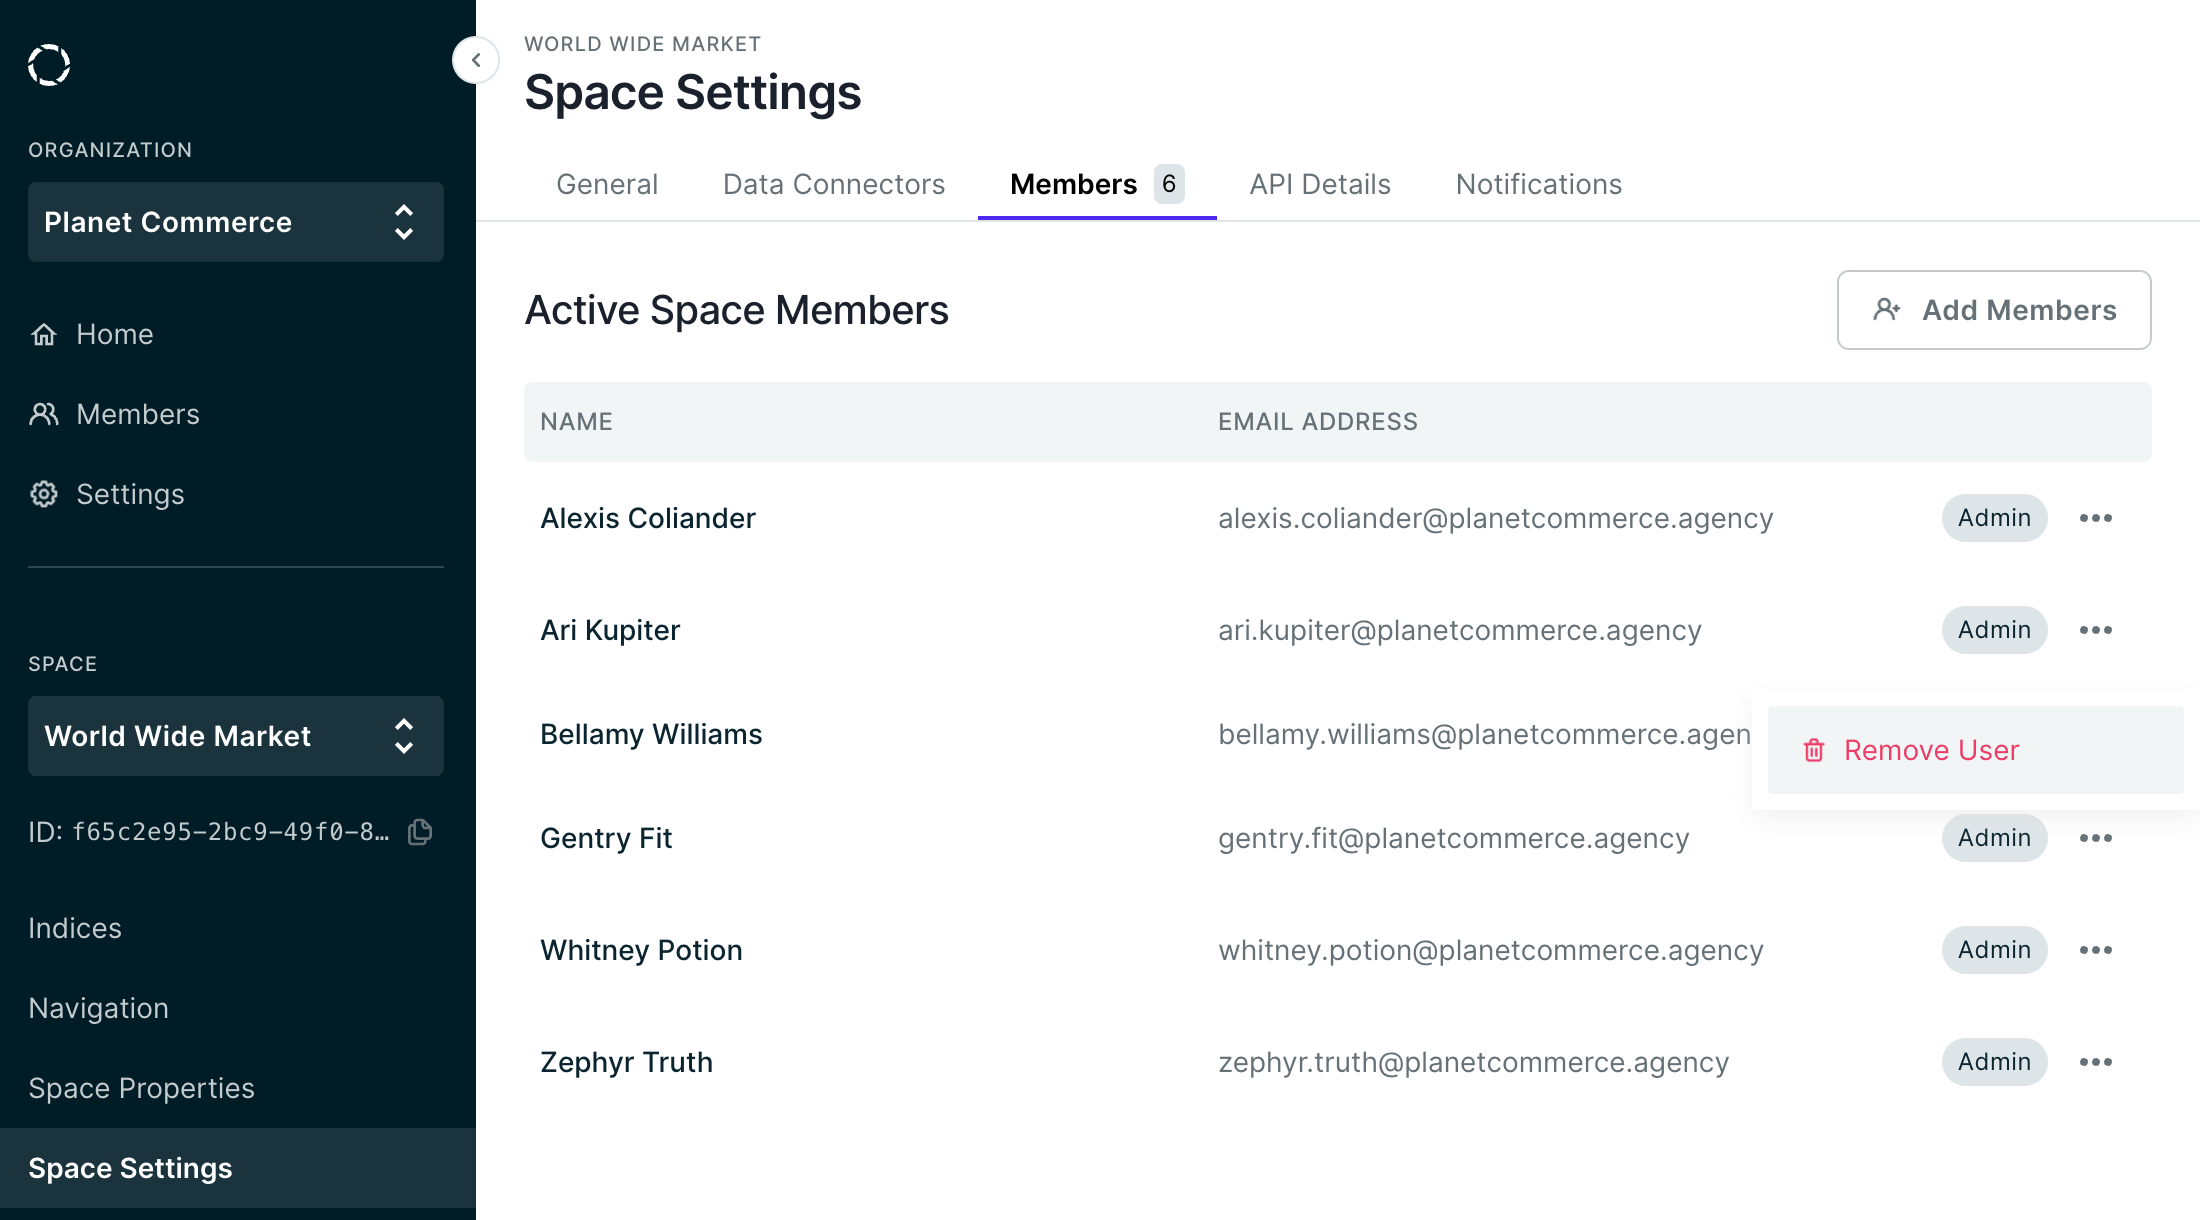
Option 2b: Remove members from a specific space
If you want to remove members from specific spaces, click “Space Settings” in the main sidebar and select the “Members” tab. Click on the 3 dot menu icon for the member you want to remove and select Remove User from the menu.
Transfer account ownership
It is possible to transfer account ownership from one user to another. This can only be done by the current account owner. When a transfer occurs, the new owner will have full access to the whole organization, while the previous owner will lose this level of access. Once a transfer occurs, the previous owner will remain an admin.
Ownership transfer can be done in two places: the Organization Settings page and the Organization Members page.
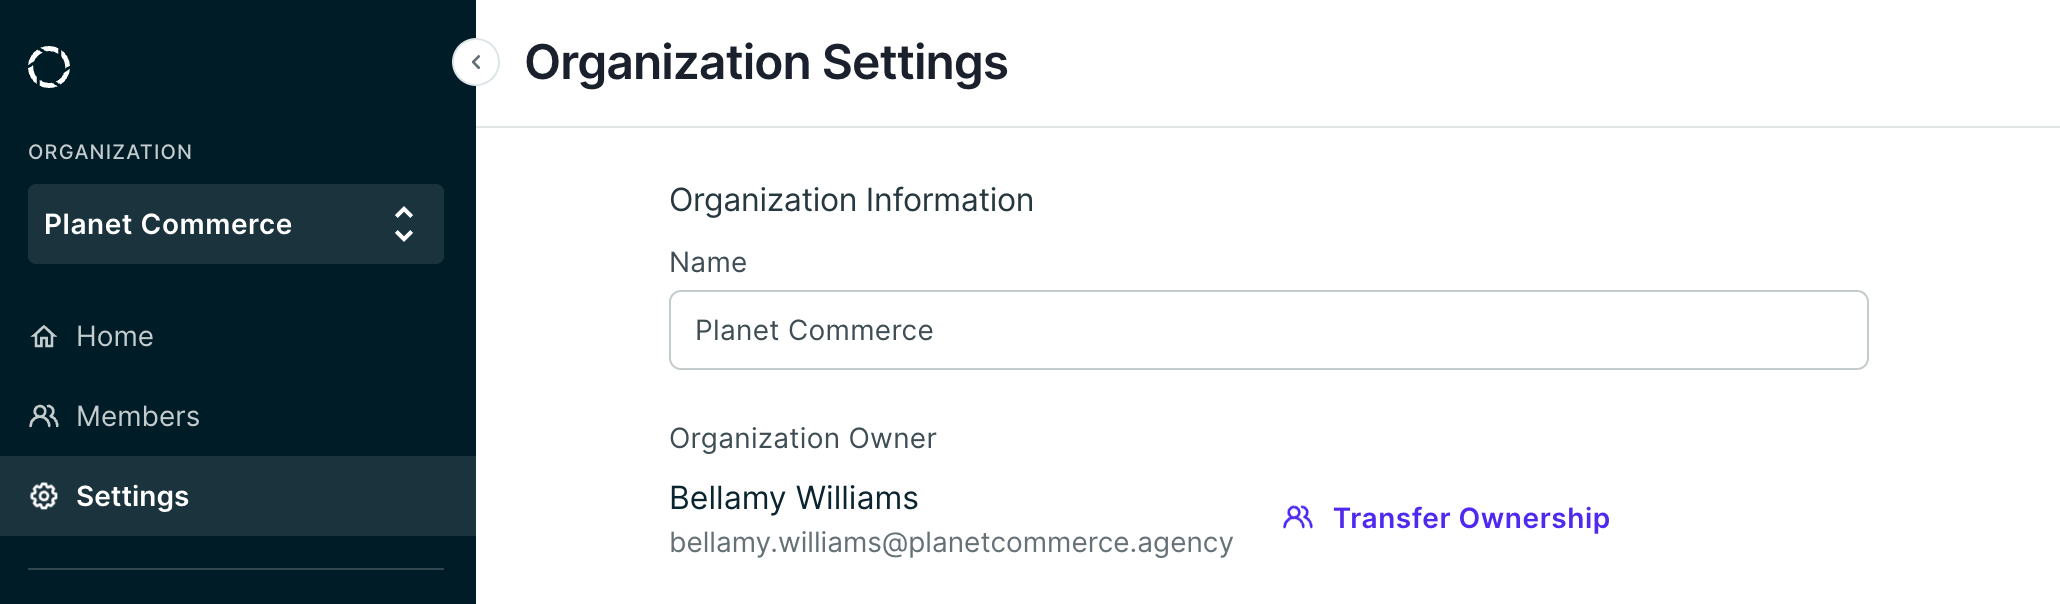
1. Organization Settings page
Navigate to the Organization Settings page by clicking “Settings” in the main sidebar. Click the Transfer Ownership button next to the current owner's name.
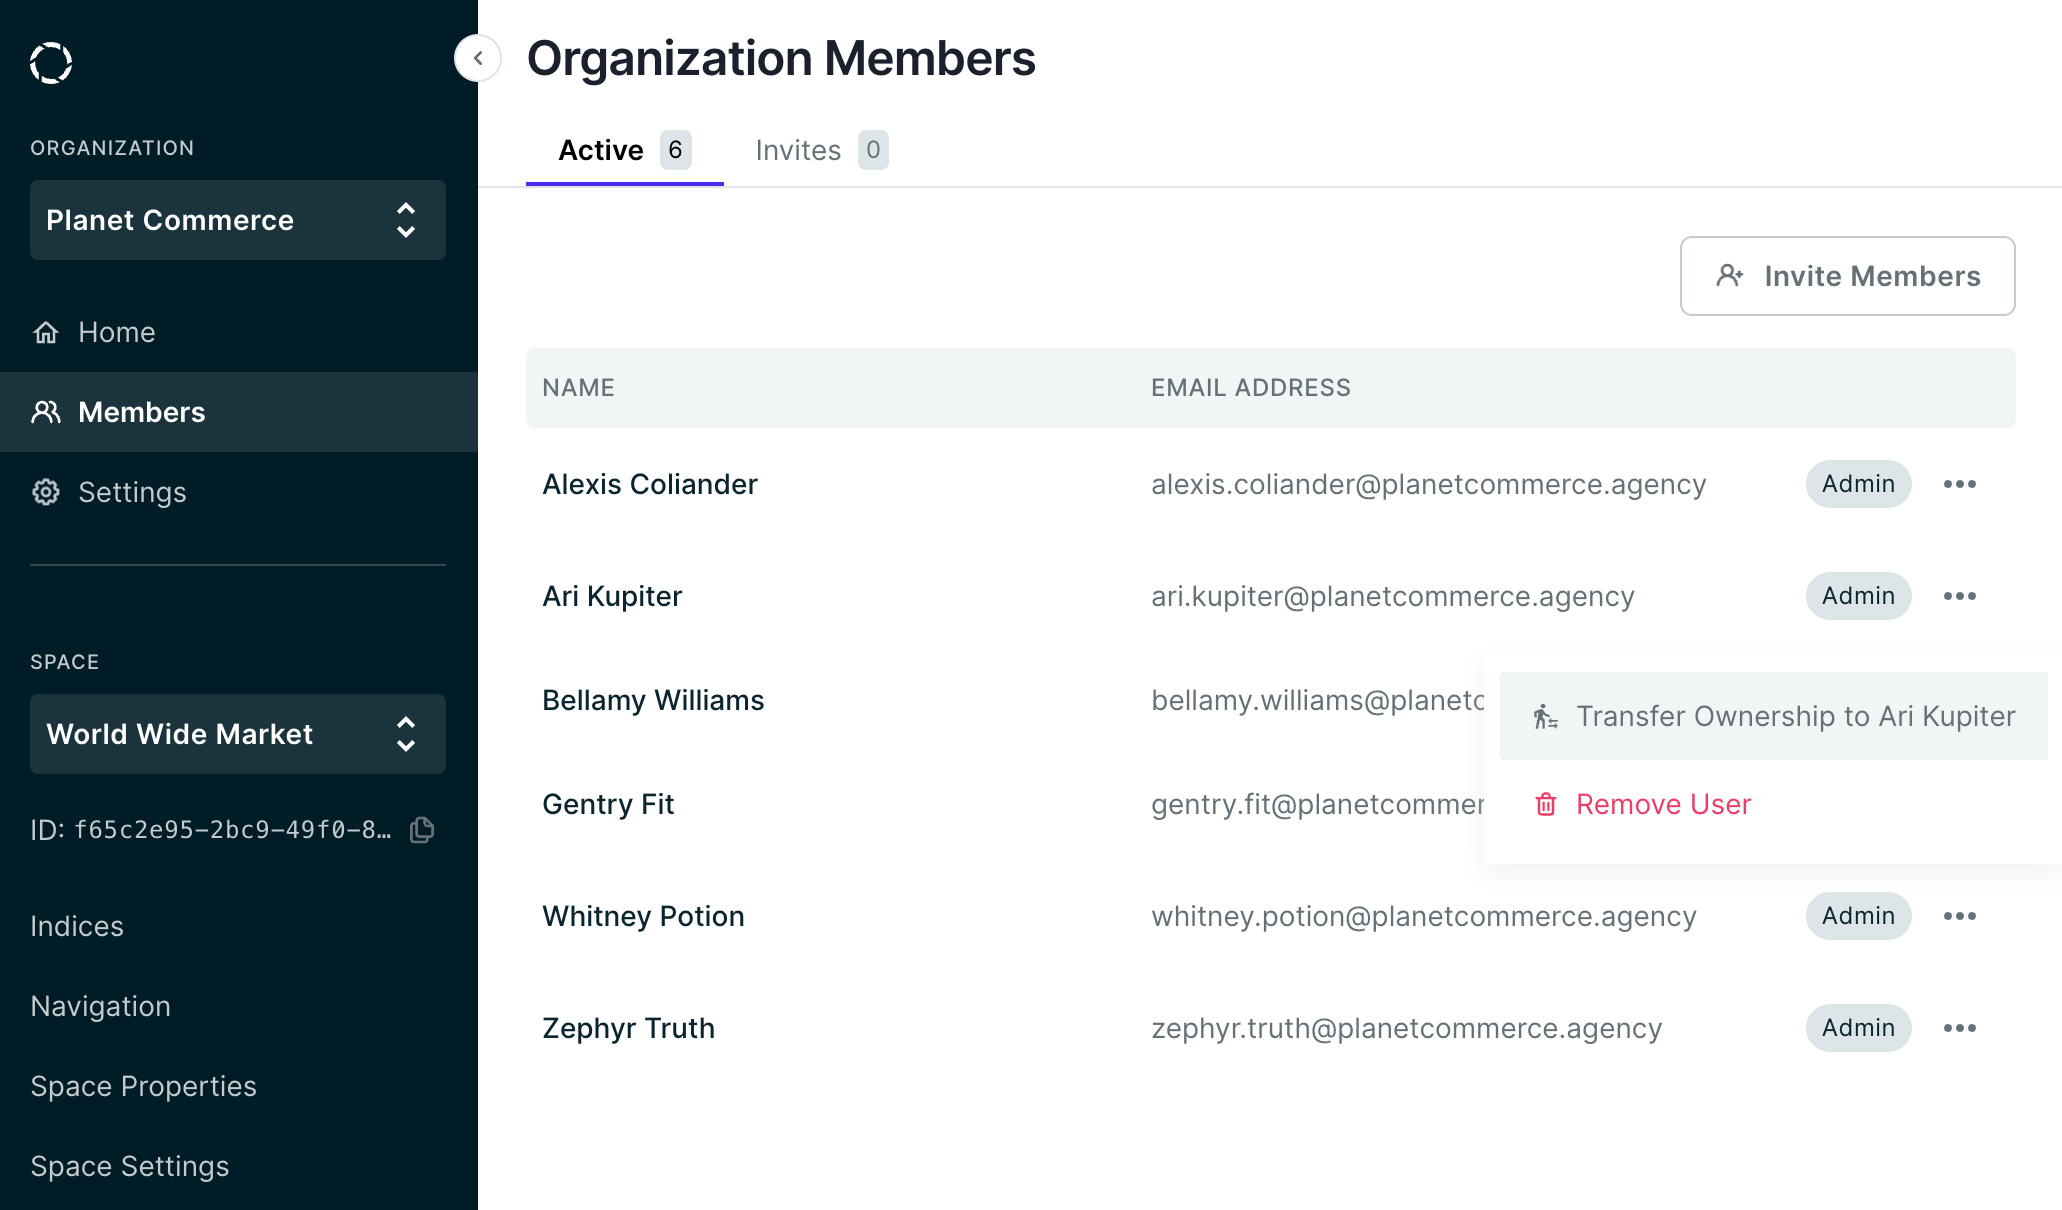
2. Organization Members page
Navigate to the Organization Members page by clicking “Members” in the main sidebar. Click the edit menu icon on the member you would like to become a new organization owner and select Transfer Ownership.
Updated almost 3 years ago