Contentful Connector
Quickly get started with the Contentful prebuilt connector
The Contentful connector indexes content into Nacelle. The connector uses webhooks to ensure data in Nacelle is always up to date. Setting up the connector is a straightforward process that requires a few updates in the Contentful and Nacelle Dashboards.
If you use internationalization within your CMS, we recommend you leverage the Ingestion API directly
Contentful Setup
Head over to Contentful and log in to the space.
Create an API token
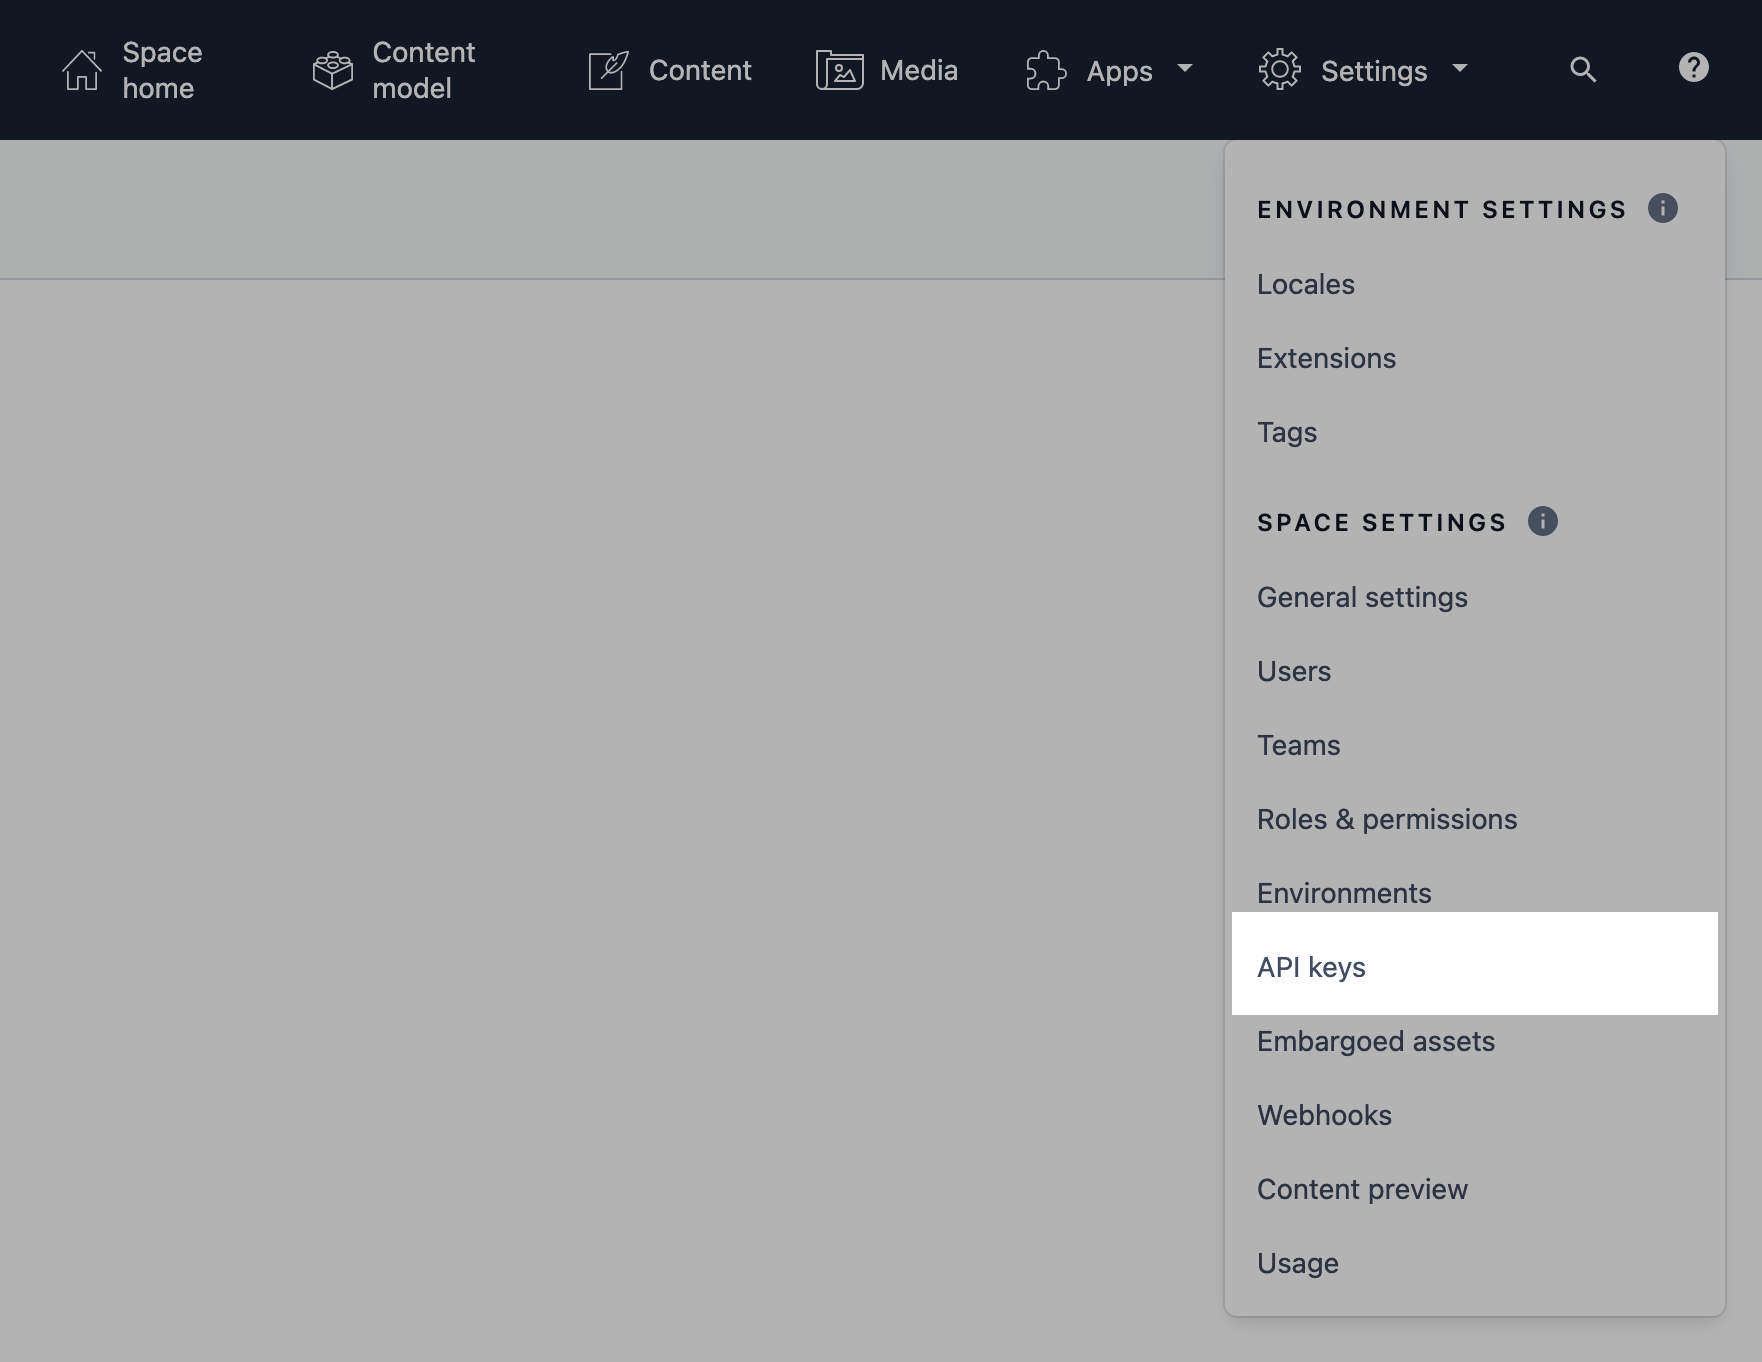
An API Key needs to be created to allow Nacelle to communicate with Contentful. To do so, click on the Settings dropdown, followed by the API Keys link.
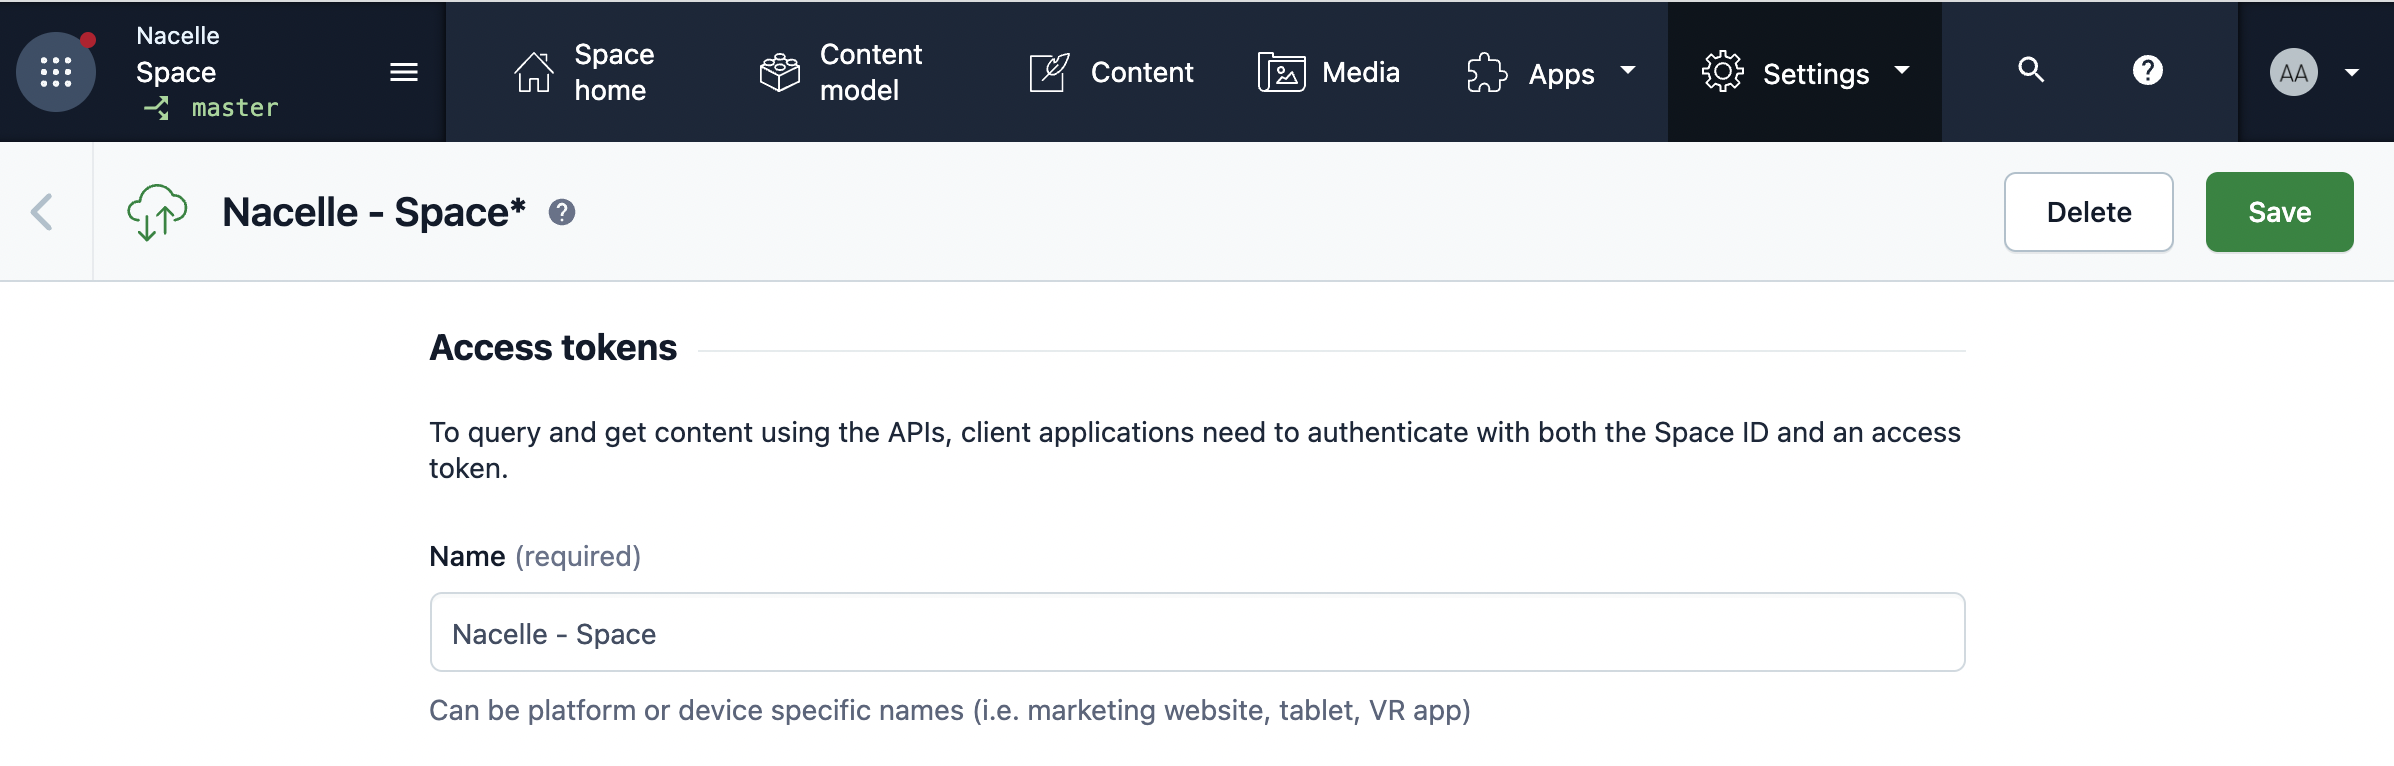
Give your key any name you would like, such as "Nacelle". Select the environments to connect the key to.
Before leaving, make a note of the Space ID and the Content Delivery API Access Token. These will be needed later.
Nacelle Setup
Head over to the Nacelle Dashboard and log in.
Connector Setup
From the dashboard home:
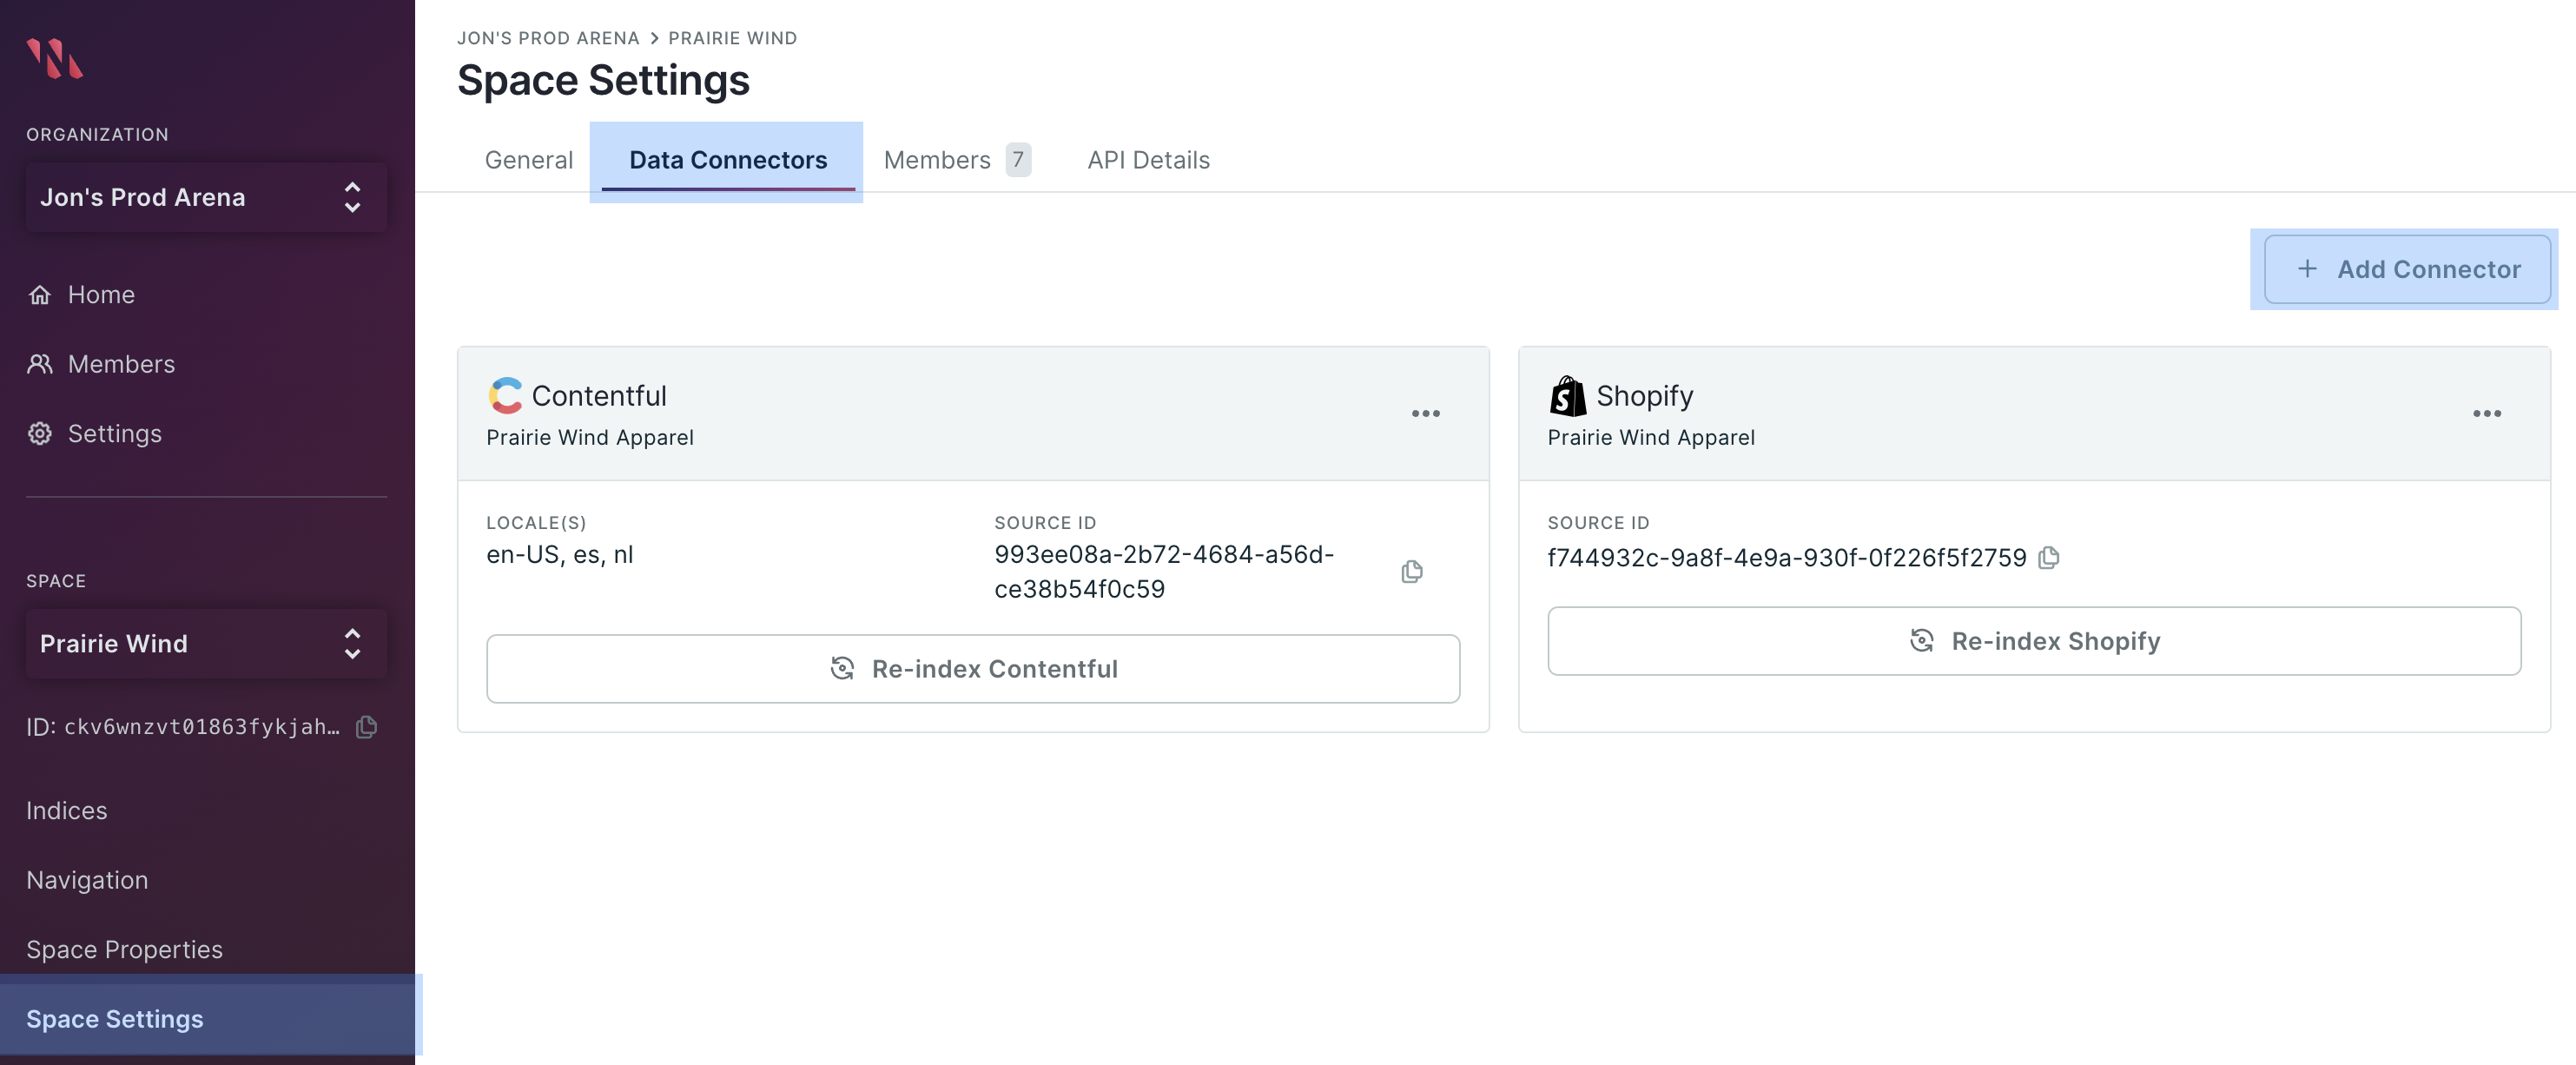
Click the settings icon for the space where you’d like to add the connector.

Then, select the "Data Connectors" tab and click the Add Connector button in the top right of the UI.

From the modal, select "Contentful" in the dropdown.
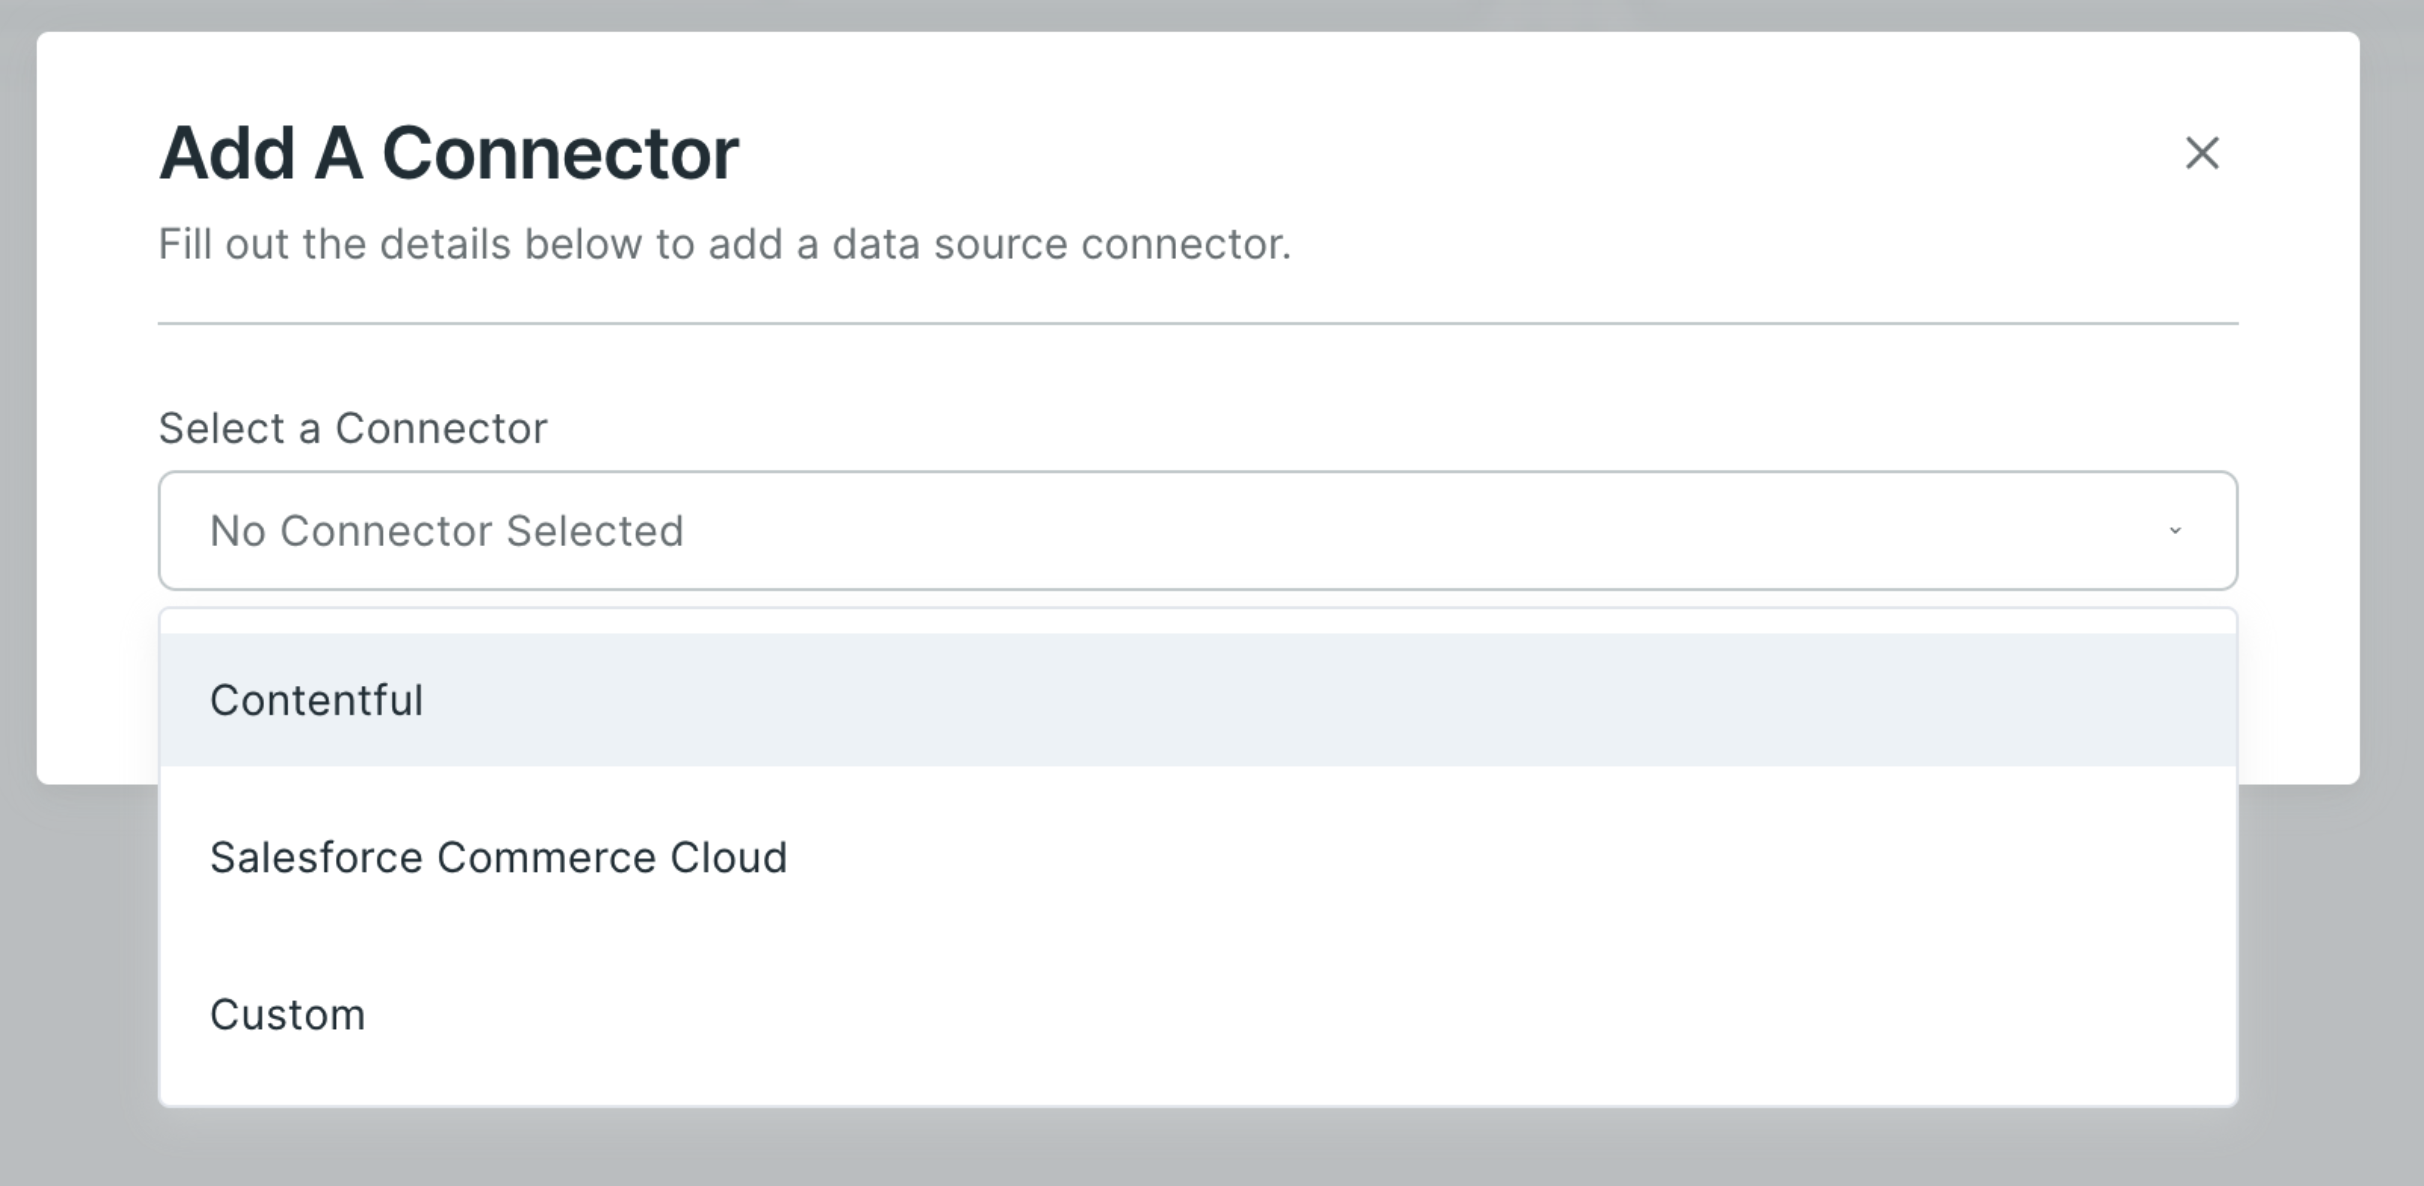
Enter the Contentful space’s ID, the Environment, and the Delivery Token. Optionally, you can add the Webhook Secret and Preview Token so you can add Contentful preview data. The connector is now ready for action.
From a space:
Select Space Settings from the primary navigation pane and then select the Data Connectors tab. Next, click the Add Connector button in the top right of the UI
From the modal, select "Contentful" in the dropdown.

Enter the Contentful space’s ID, the Environment, and the Delivery Token. Optionally, you can add the Webhook Secret and Preview Token to add Contentful preview data. The connector is now ready for action.
Run Initial Sync
Once the connector is added, you’ll now have the option to Re-Index the connector. Click the Re-Index button in the connector to ingest your Contentful data
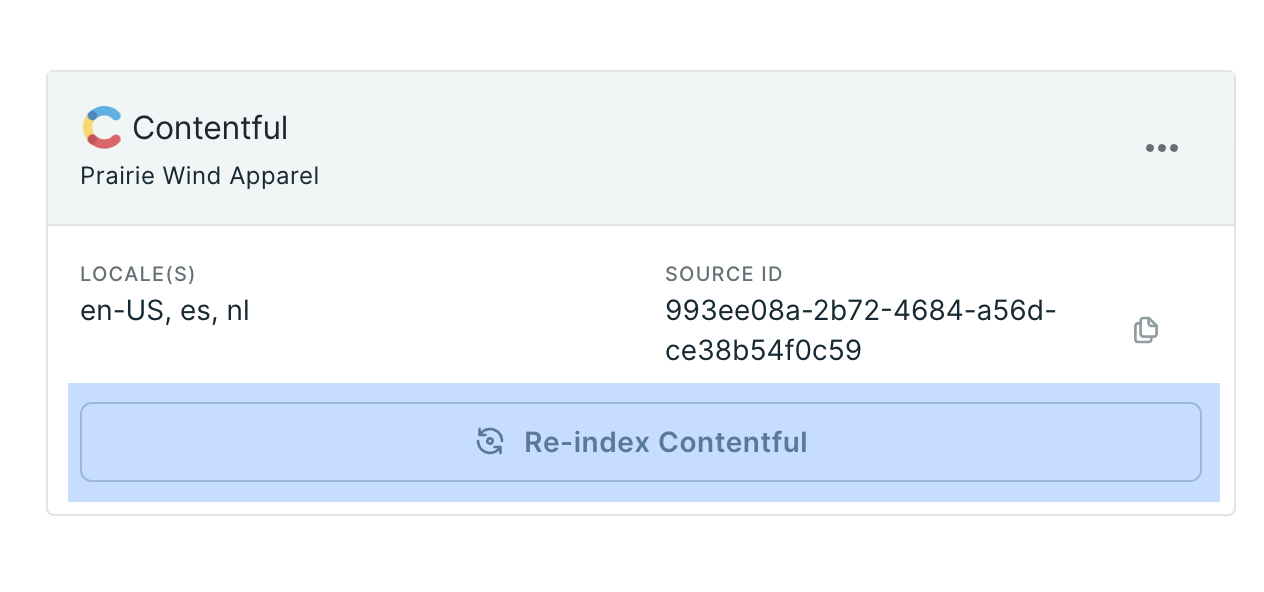
Once ingestion is complete, you can verify that your products and collections have been properly ingested by visiting the appropriate tab in your space or by querying for the data using the Nacelle Storefront API.
Typed Fields Schema Generation
If the Typed Fields feature is enabled for your Nacelle space, clicking the Re-Index button in the Contentful connector UI will generate a custom GraphQL schema that can be queried in Nacelle's Storefront GraphQL API. When this schema is generated, a new field (typedFields: ContentTypedFields) will be available in the Content GraphQL type inside of an allContent query. To explore the typedFields: ContentTypedFields GraphQL type, you can use the GraphQL Explorer built into the Nacelle Dashboard, or your favorite desktop GraphQL client.
When your Contentful content models change, your Typed Fields schema will not update automatically to reflect those changes. To update the Typed Fields schema, you must click the Re-Index button in the Contentful connector UI.
Contentful Preview Data
To enable Preview Data from Contentful, follow these steps.
From the Contentful dashboard, navigate to Settings, then API keys.
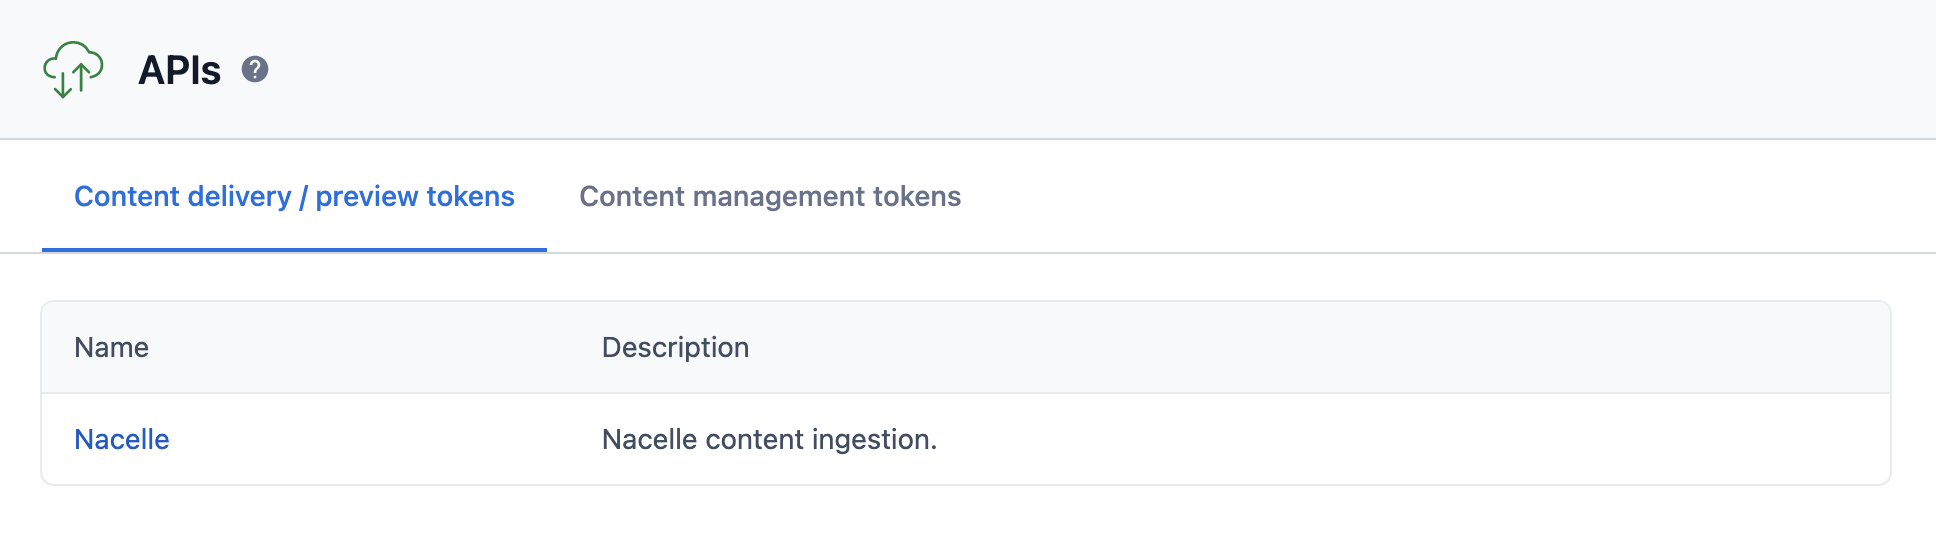
Under the Content delivery/preview tokens tab, select the API key used in your Contentful ingestion connector settings.
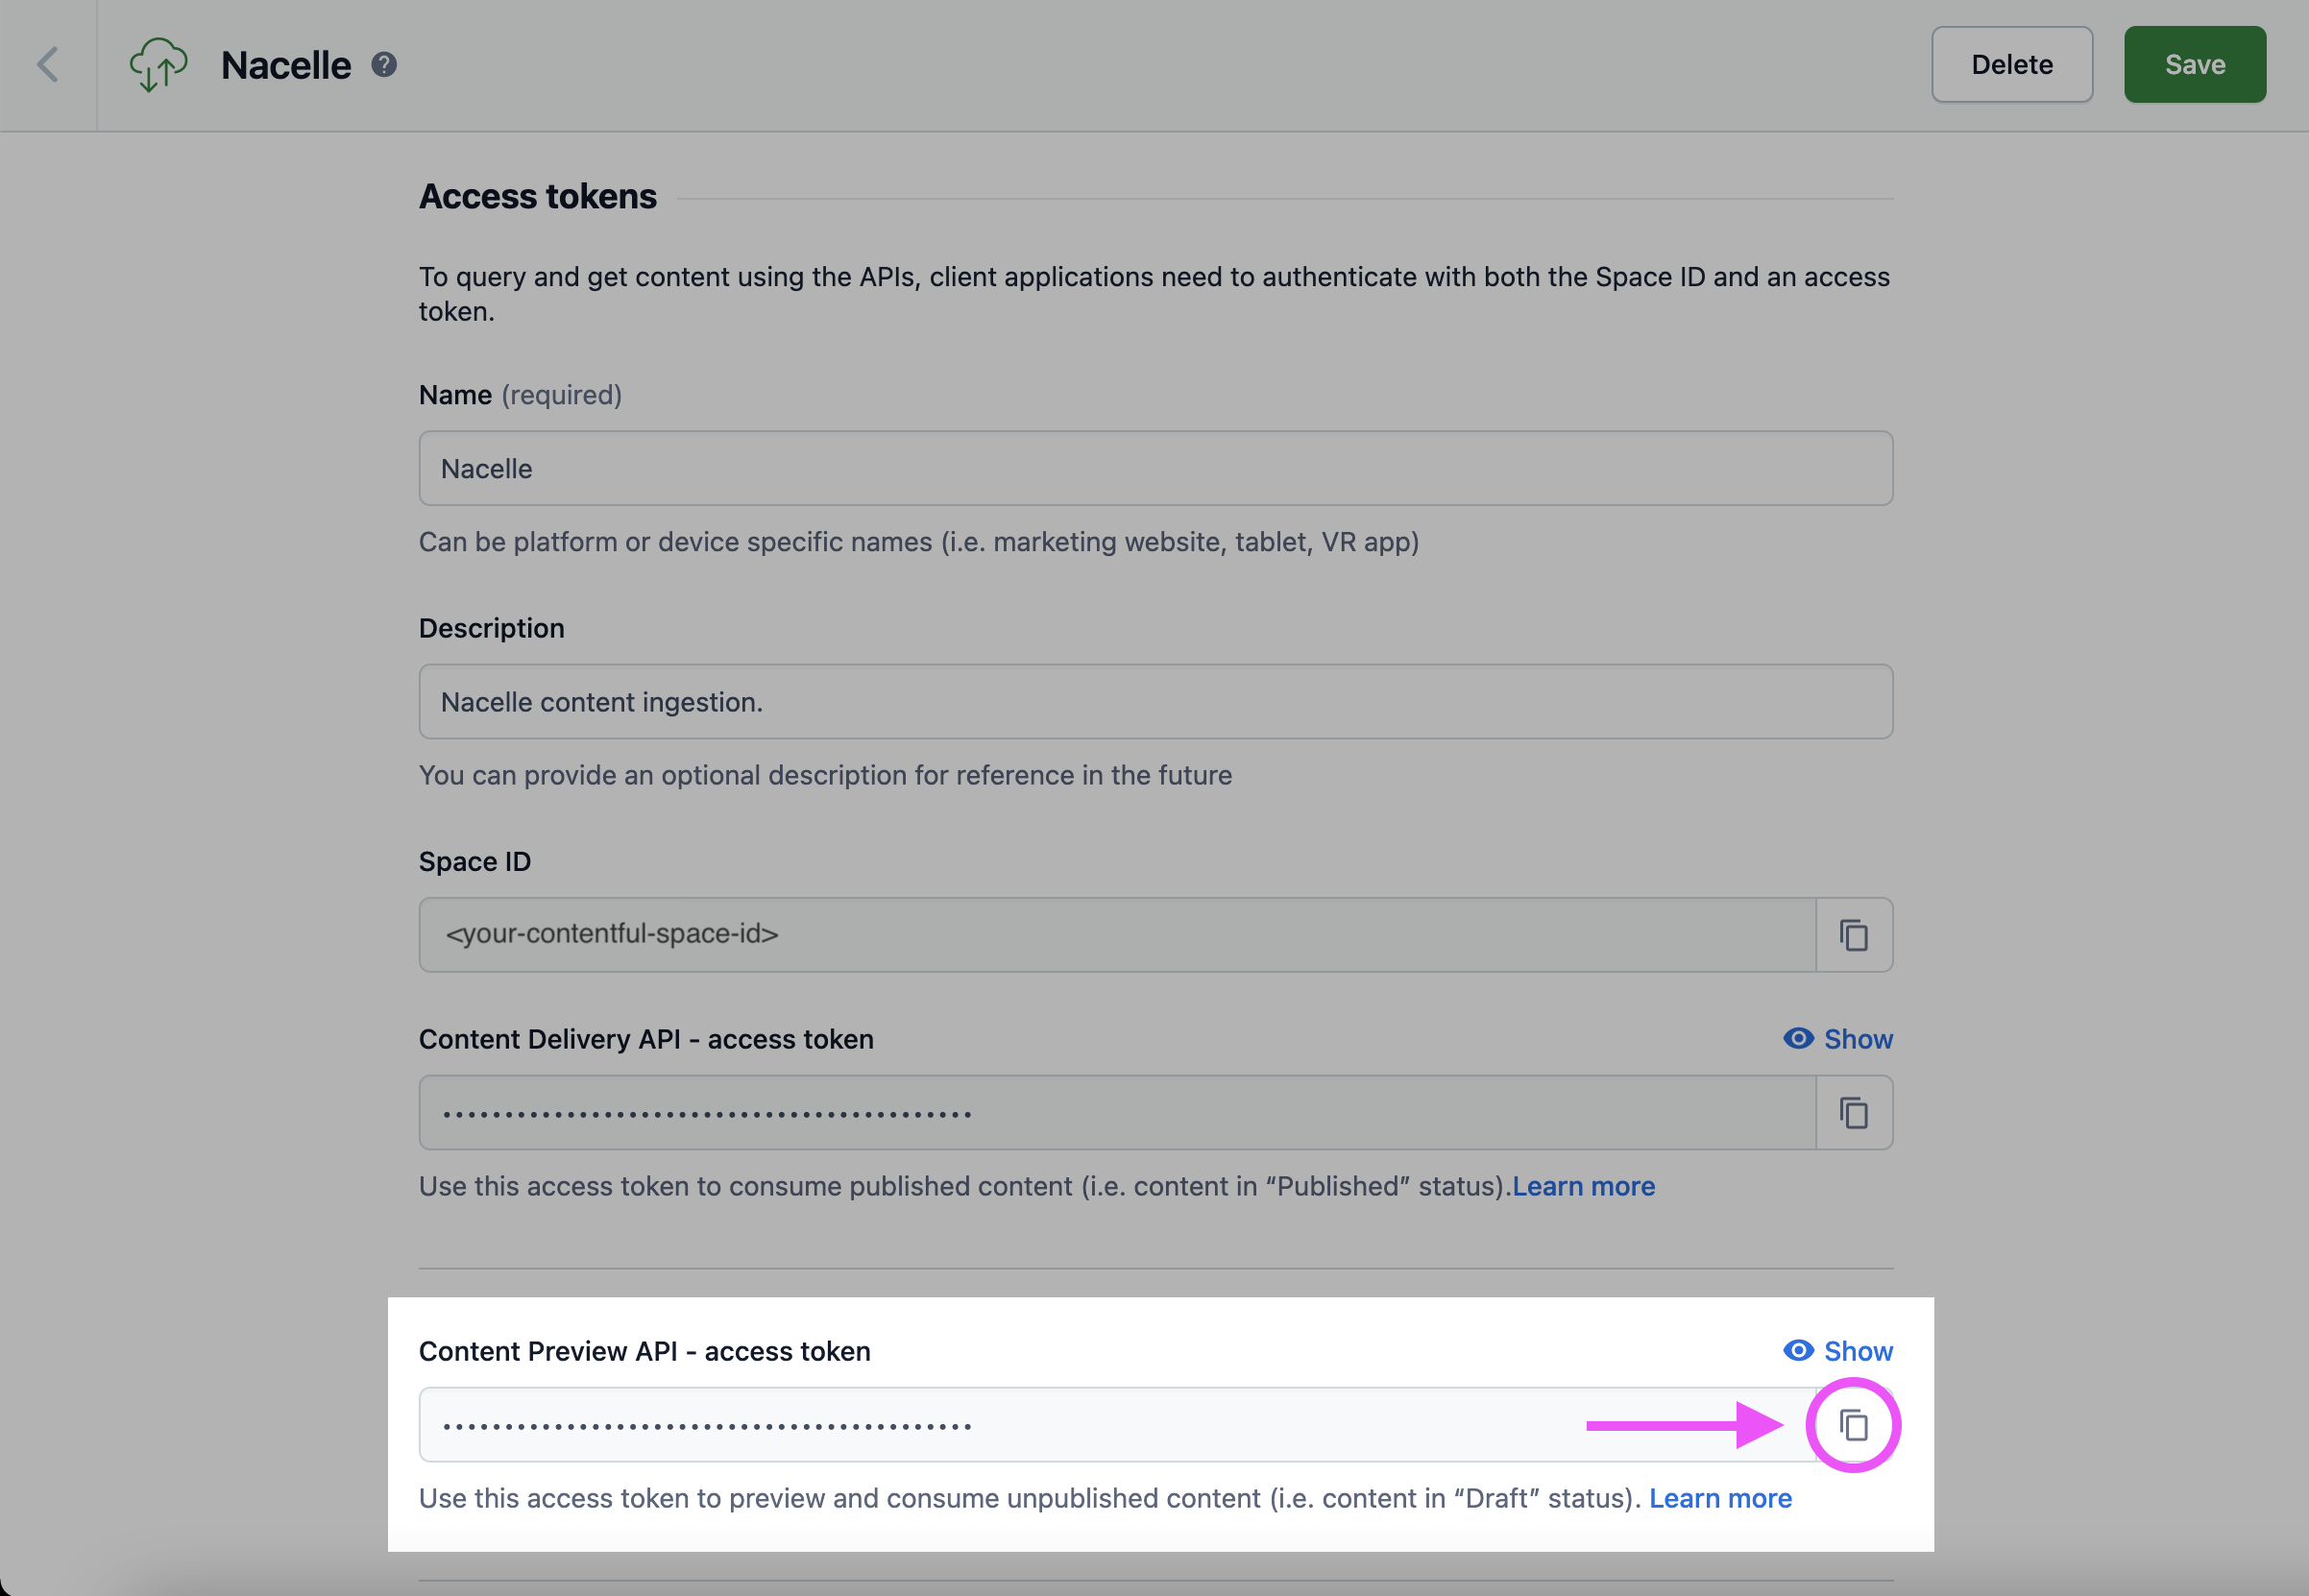
The preview token will be found under the label Content Preview API - access token.
Now, head over to the Nacelle dashboard and either click the settings gear icon for the space you’re updating, select the space, go to Space Settings in the primary navigation pane, and click the Data Connectors tab.
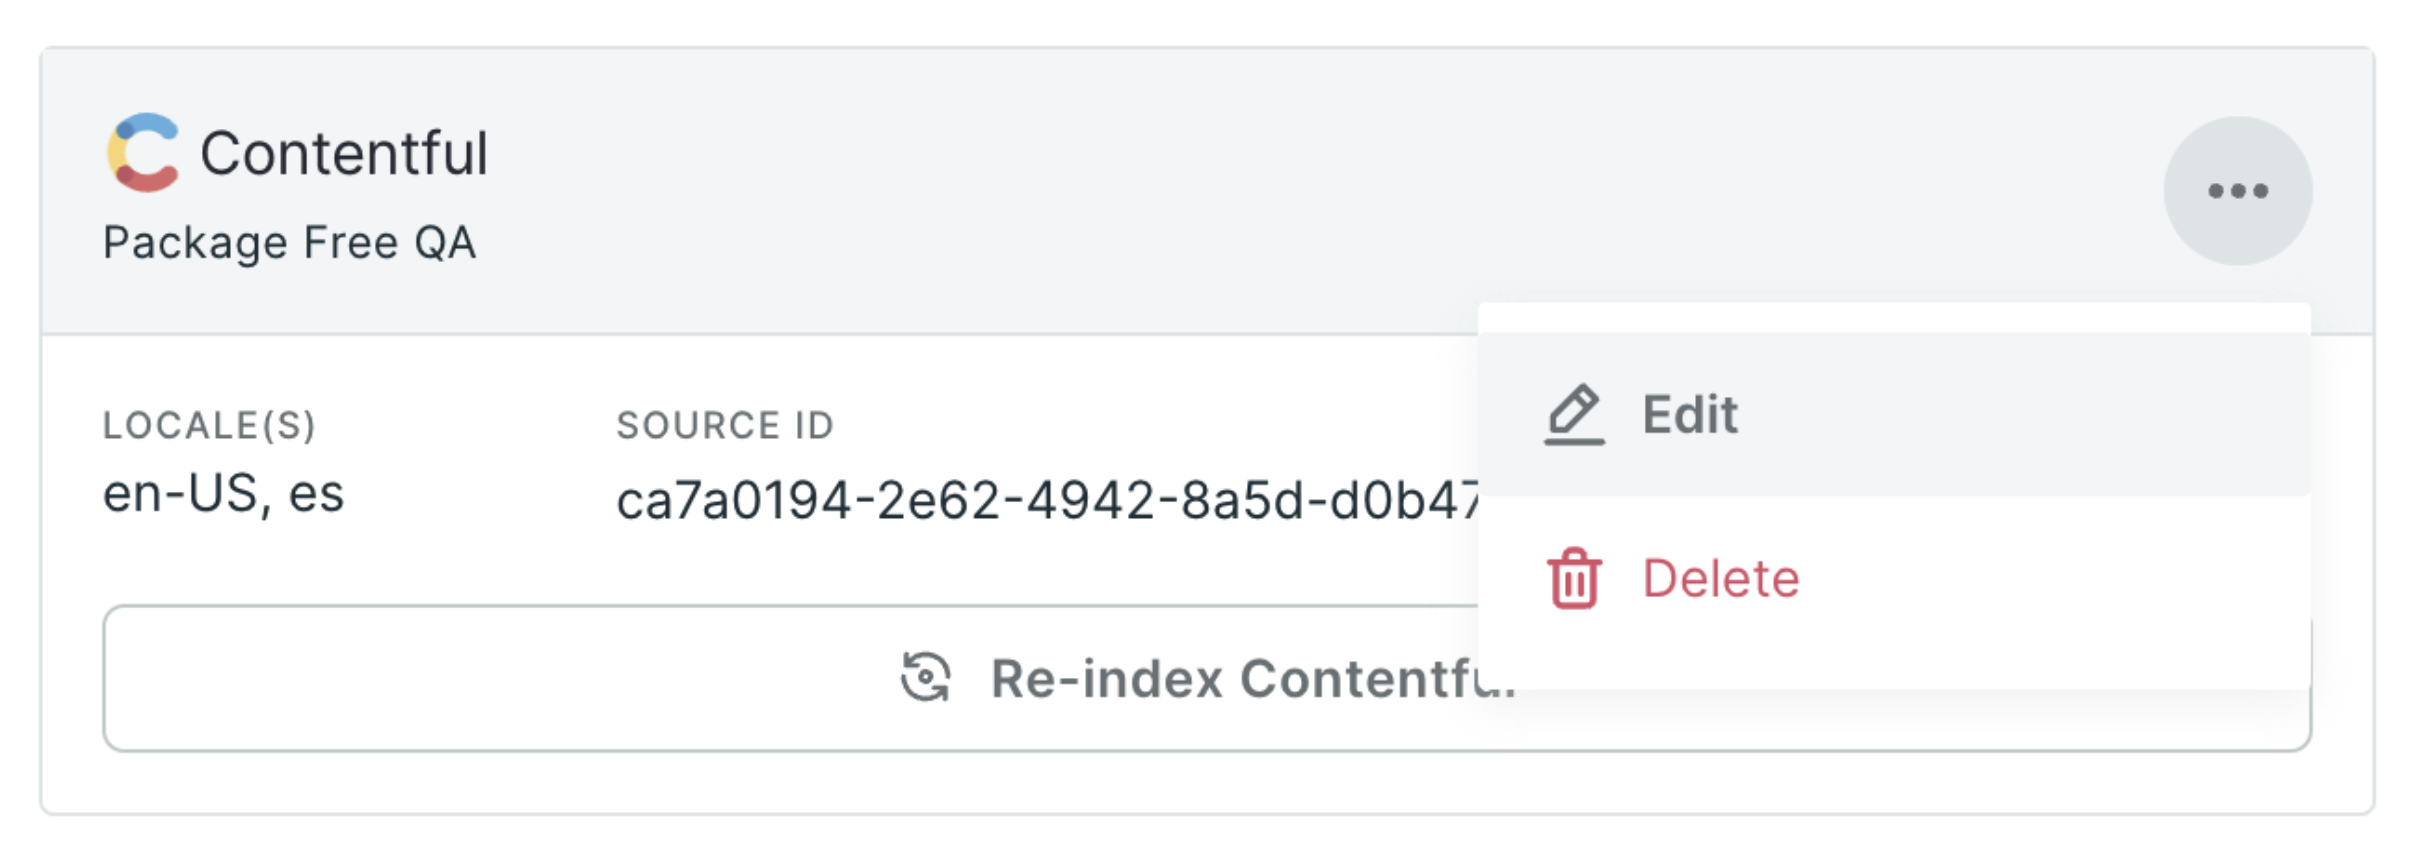
Next, click the 3 dots “menu” icon on the Contentful connector and choose Edit.
In the field labeled Contentful Preview Token, add the preview token created in Contentful.
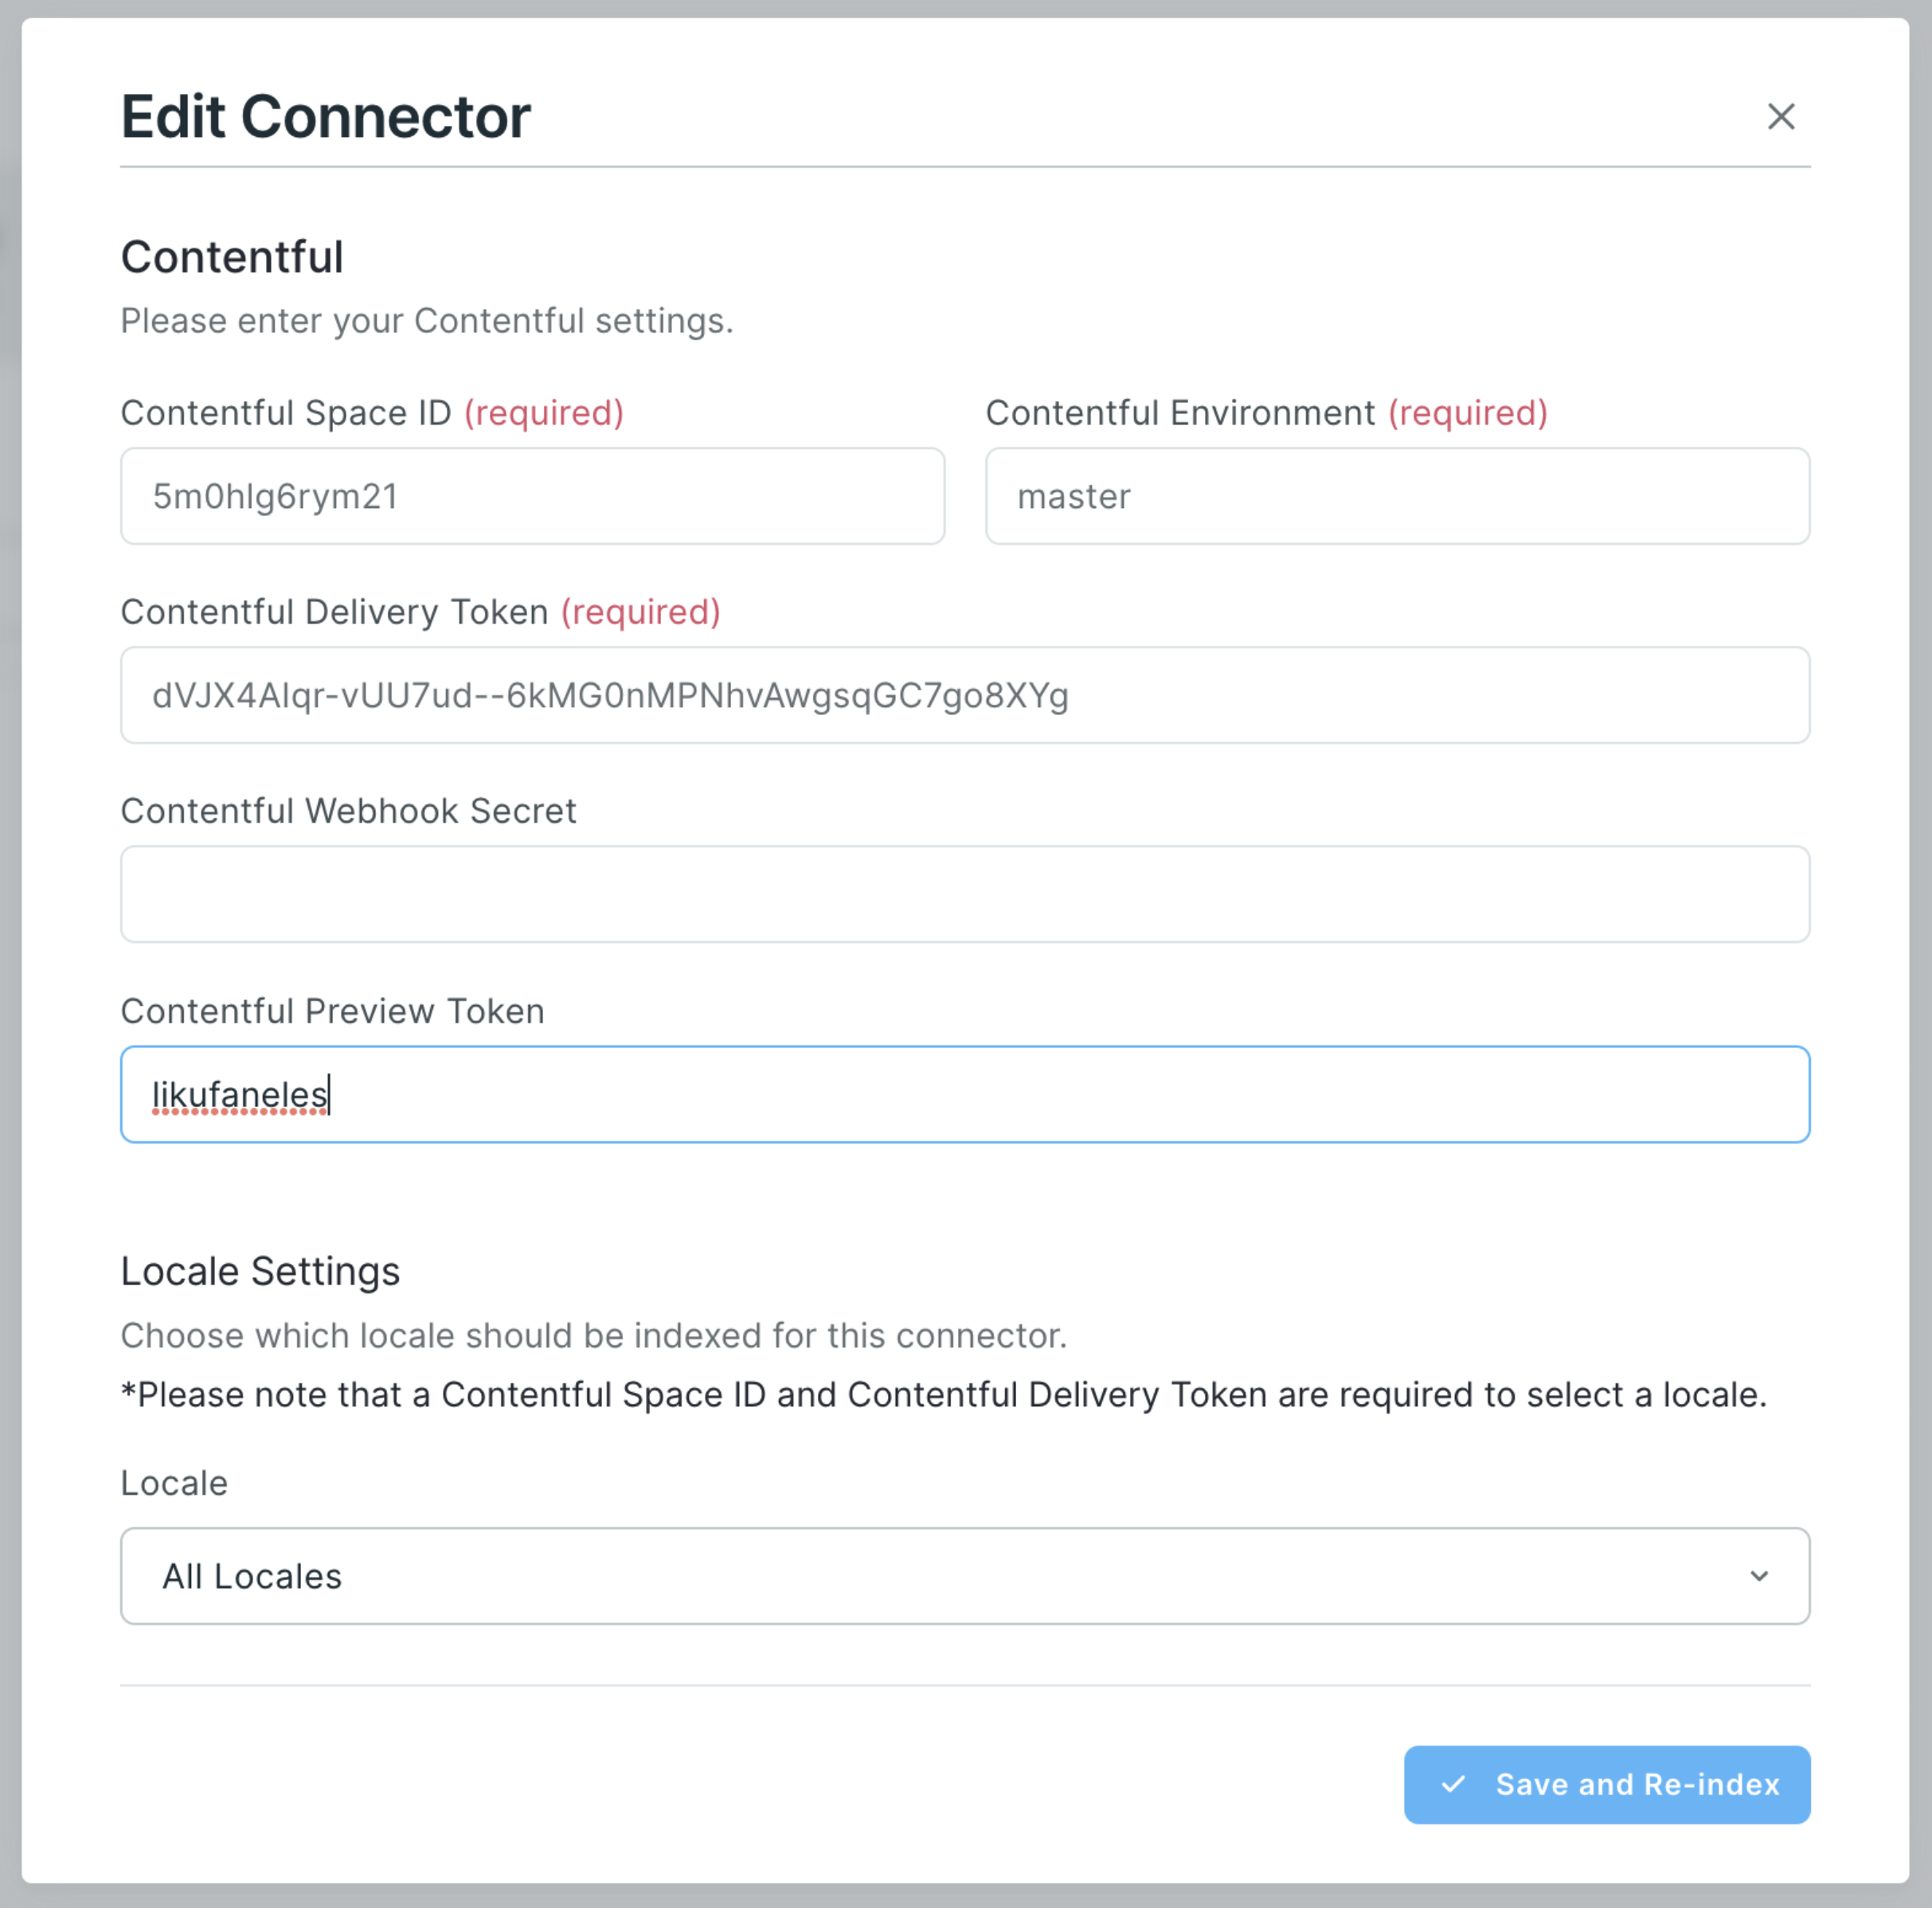
Now, click the Save and Re-Index button, and you’re all set.
Nacelle Contentful CMS App
Nacelle's app for Contentful makes it easy to link products and collections to your content.
Saving product or collection data within content in the CMS can add risk to your composable stack's data consistency. Avoid this by using Nacelle's CMS apps.
It is important to avoid the composable anti-pattern of daisy-chaining, which you can learn more about here: https://nacelle.com/blog/cms-antipatterns-in-headless-commerce.
By using the Nacelle CMS app, you ensure best practices are followed, and daisy chaining is avoided.
Installation
- Inside Contentful, click your organization's name in the top left corner of the app
- In the slide-out menu that appears, click "Organization settings & subscriptions"
- In the top navigation, click "Apps"
- On the next page, click "Create an App"
- Name the app whatever you want (we recommend "Nacelle")
- Provide the Nacelle App URL: https://contentful-app-nacelle.netlify.app
- In the "Locations" section that appears on the page, check the boxes for "App configuration screen" and "Entry field"
- Check the box for "Short text" inside the "Entry field" location
- Click "Create app"
- On the next screen, click "Install to space" in the top right corner
- In the modal that appears, select the environment to deploy to. Typically this will be "master"
- On the next screen, enter your Nacelle Space ID and Token, and click "Install"
Field Setup
Navigate to the Content Model you want to set up the link for. Add a new field and name it "Product Handle" or "Collection Handle". The Field ID will auto-populate but should be manually set to handle. This will ensure that your content will appear as expected in the Nacelle dashboard.
Navigate to the Appearance settings for the new field. Scroll to the right, where you will see the new Nacelle app.
When you add a new content entry, that field will let you select products or collections from your catalog. Making a selection will populate the content field with a reference to the product or collection of interest.
Contentful webhook setup
Navigate to Contentful Webhooks Settings, via the top navbar, Settings > Webhooks, and click Add Webhook
For the Name field, enter any value, e.g. My Webhook
For the URL field, Select POST and add the URL:
<https://contentful.api.nacelle.com/webhook/contentful>
Triggers
Check Select specific triggering events
Check Publish and Unpublish cells in the Entry and Asset row
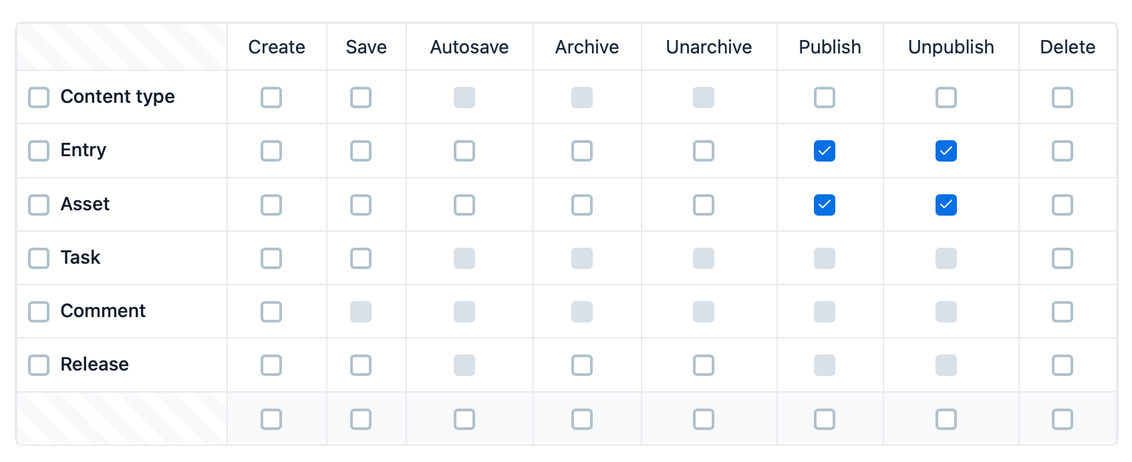
Both
EntryandAssetmust have bothPublishandUnpublishenabled. Otherwise, Nacelle will not be able to resolve asset references, that originated from webhook triggers, without a full reindex.
Headers
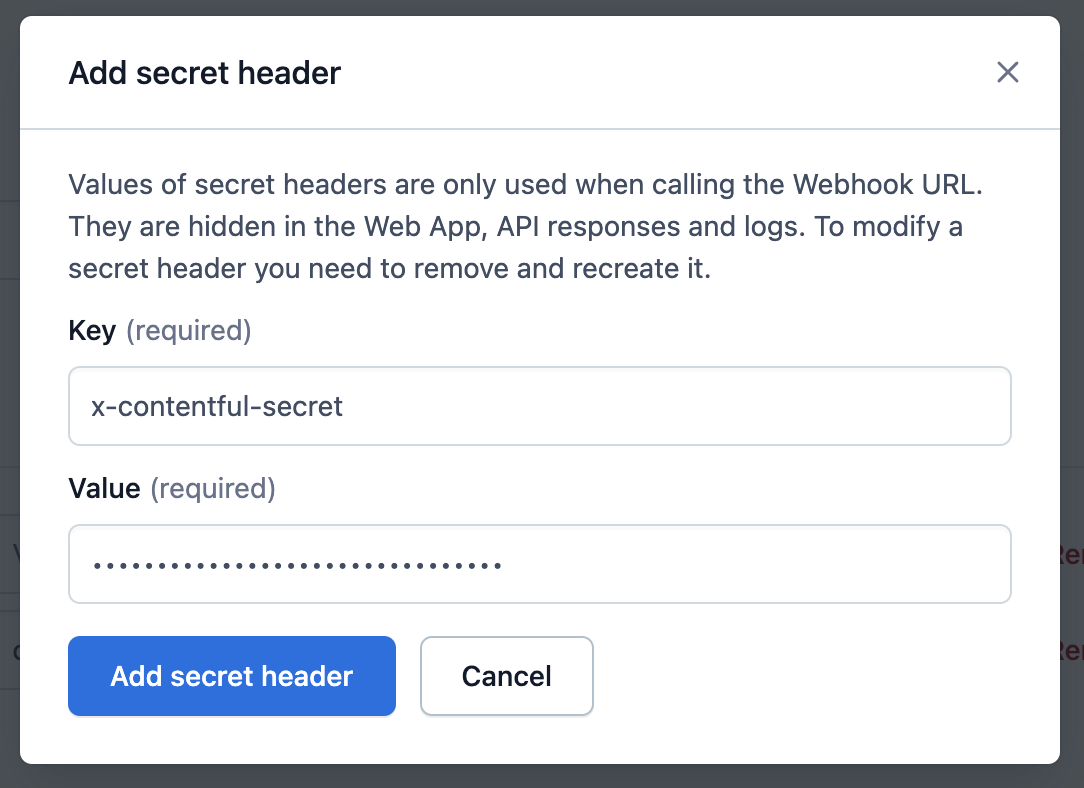
Click + Add secret header
For Key enter x-contentful-secret
For Value enter any arbitrary value, e.g. 5f4dcc3b5aa765d61d8327deb882cf99 (md5 hash of “password”)
Click + Add custom header
For Key enter x-nacelle-space-id
For Value enter your Nacelle space id
For Content-type select application/json
Update the Contentful Connector in the Nacelle Dashboard
Navigate to your Nacelle dashboard, select on your desired space, then go to Space Settings in the primary navigation pane, and click the Data Connectors tab.
Next, click the 3 dots “menu” icon on the Contentful connector and choose Edit.
For Contentful Webhook Secret, enter the value you used above for the secret header, x-contentful-secret
Updated about 2 years ago