Genesis Settings
Maximize the impact of your personalized marketing campaigns by configuring Genesis settings
By following these steps in Genesis Settings, you can enable Genesis, connect your Klaviyo account, set up your audience, define your brand voices, and configure your links, paving the way for successful personalized marketing campaigns.
Enabling Genesis
Reach out to your CSM to enable Genesis in your space.
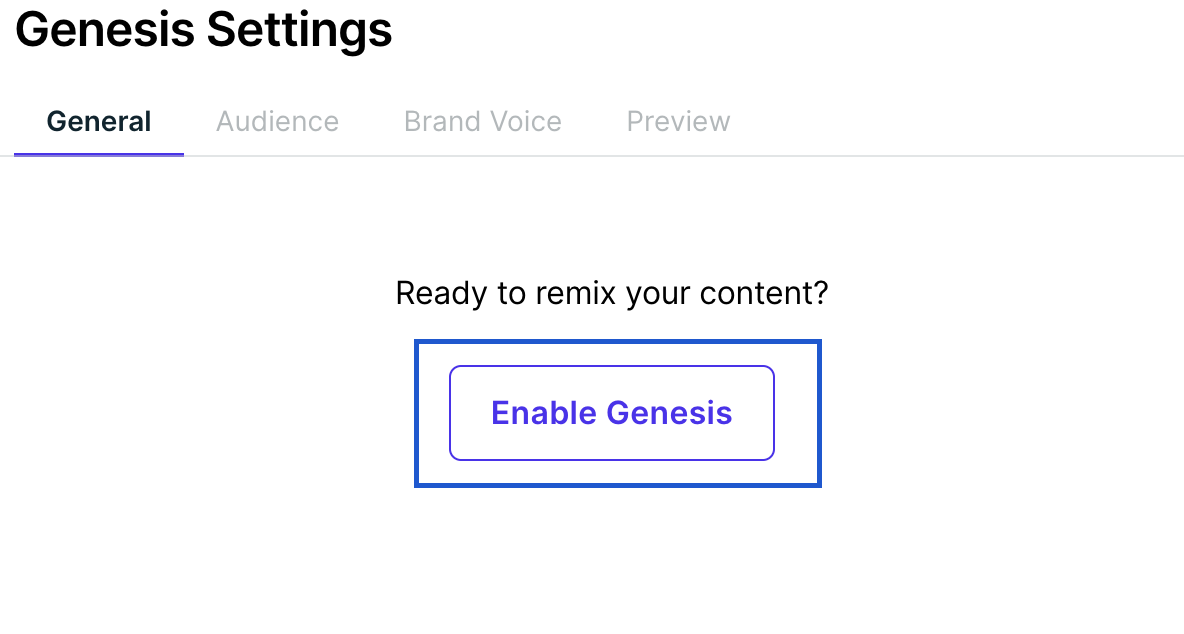
Before you can use Genesis, you need to enable it in your dashboard. In your Nacelle Dashboard, navigate to Genesis Settings, and click Enable Genesis:

Connecting Klaviyo
Connect your Klaviyo account to Genesis to seamlessly import your audience segments.
- Create a private Klaviyo API key. Name it something like "Nacelle", select Custom Key and make sure that it has these scopes:
- Campaigns: Full Access
- Segments: Read
- Templates: Read
- In your Nacelle Dashboard, navigate to Genesis Settings. On the General tab, input your Klaviyo API Key.
Setting up your audiences
To get started with Genesis, you need to define your audience. You can import from Klaviyo, import from a CSV, or manually create an audience. To set up your audiences, start by navigating to your Nacelle Dashboard, clicking Genesis Settings, and going to the Audience tab.
-
Klaviyo Integration: Connect your Klaviyo account to Genesis to import your already existing audience segments. Once you've set up your Klaviyo API key, on the Audience tab, click the Pull Klaviyo Audiences button. The audiences are then automatically generated from your connected Klaviyo account.

-
CSV Import: Upload a CSV file containing your audience data. Make sure the first row has the columns name and description. Download a sample CSV here

-
Manual Creation: Manually create audience segments by clicking the Add button at the bottom, and filling out the Name and Description.
Defining your brand voice
Defining your brand voice in Genesis to help maintain consistency and resonance in your personalized content. Name your brand voice, and in the description, specify the tone, style, and personality traits that align with your brand's identity.

Configuring your preview link
The preview link configuration allows you to see how your personalized content will appear before it goes live. This includes:
- Setup: Configure the preview link settings within Genesis.
- Testing: Use the preview link to test different content variations and ensure they meet your standards
- Approval: Share the preview link with stakeholders for feedback and approval.

Updated over 1 year ago
